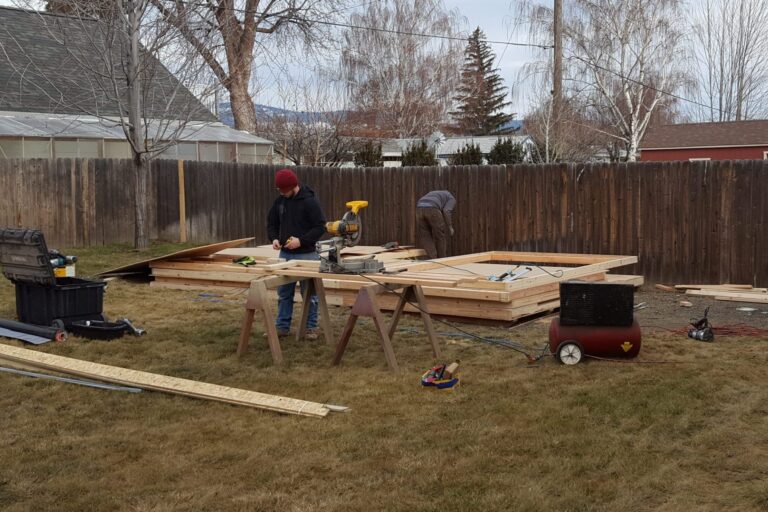
How to Convert Your Shed into a Potting Shed
Austin Weaver - September 30, 2024
Are you ready to create an outlet for your inventive green thumb? A space where you combine your favorite green plants, personal décor touches, and of course…pots.
If so, enjoy being further inspired in your goal of how to convert your shed into a potting shed haven!
While the following presents 15 steps to converting your shed into a potting shed, not all of them may apply to your situation or be what you want. If so, simply use the ones you like, and skip the rest.
15 Steps to Converting Your Shed into an Epic Potting Shed
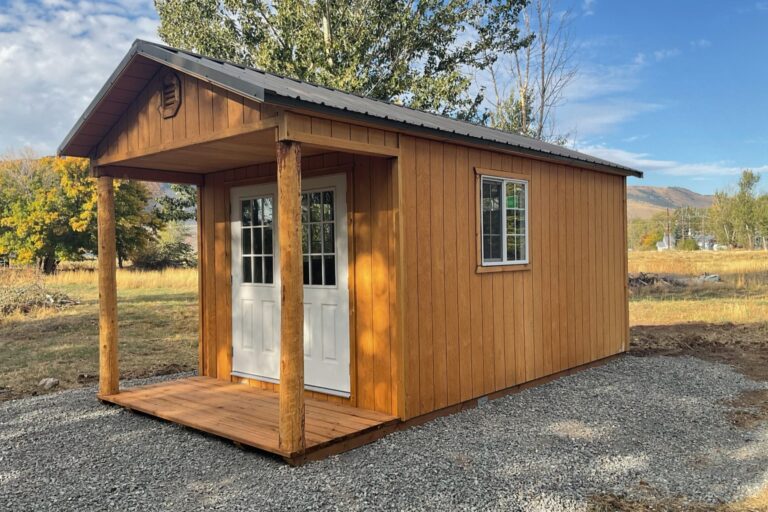
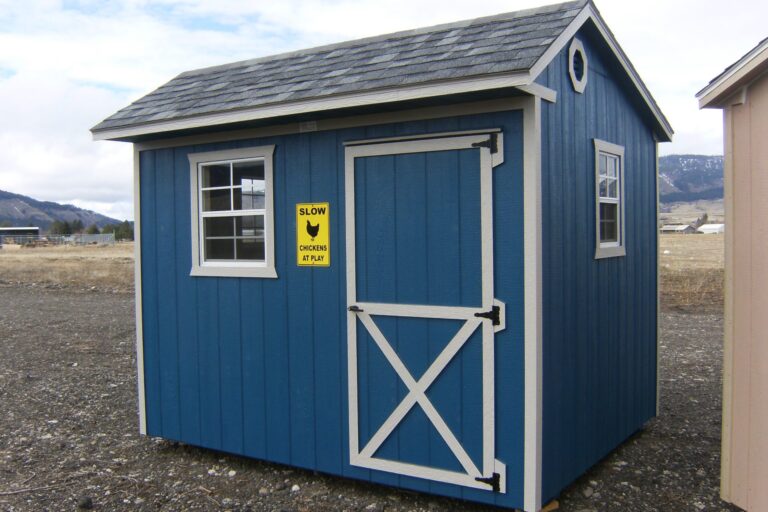
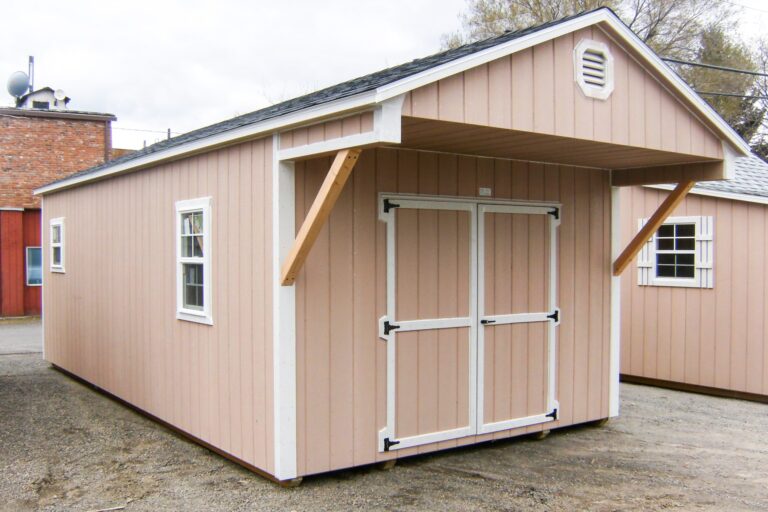
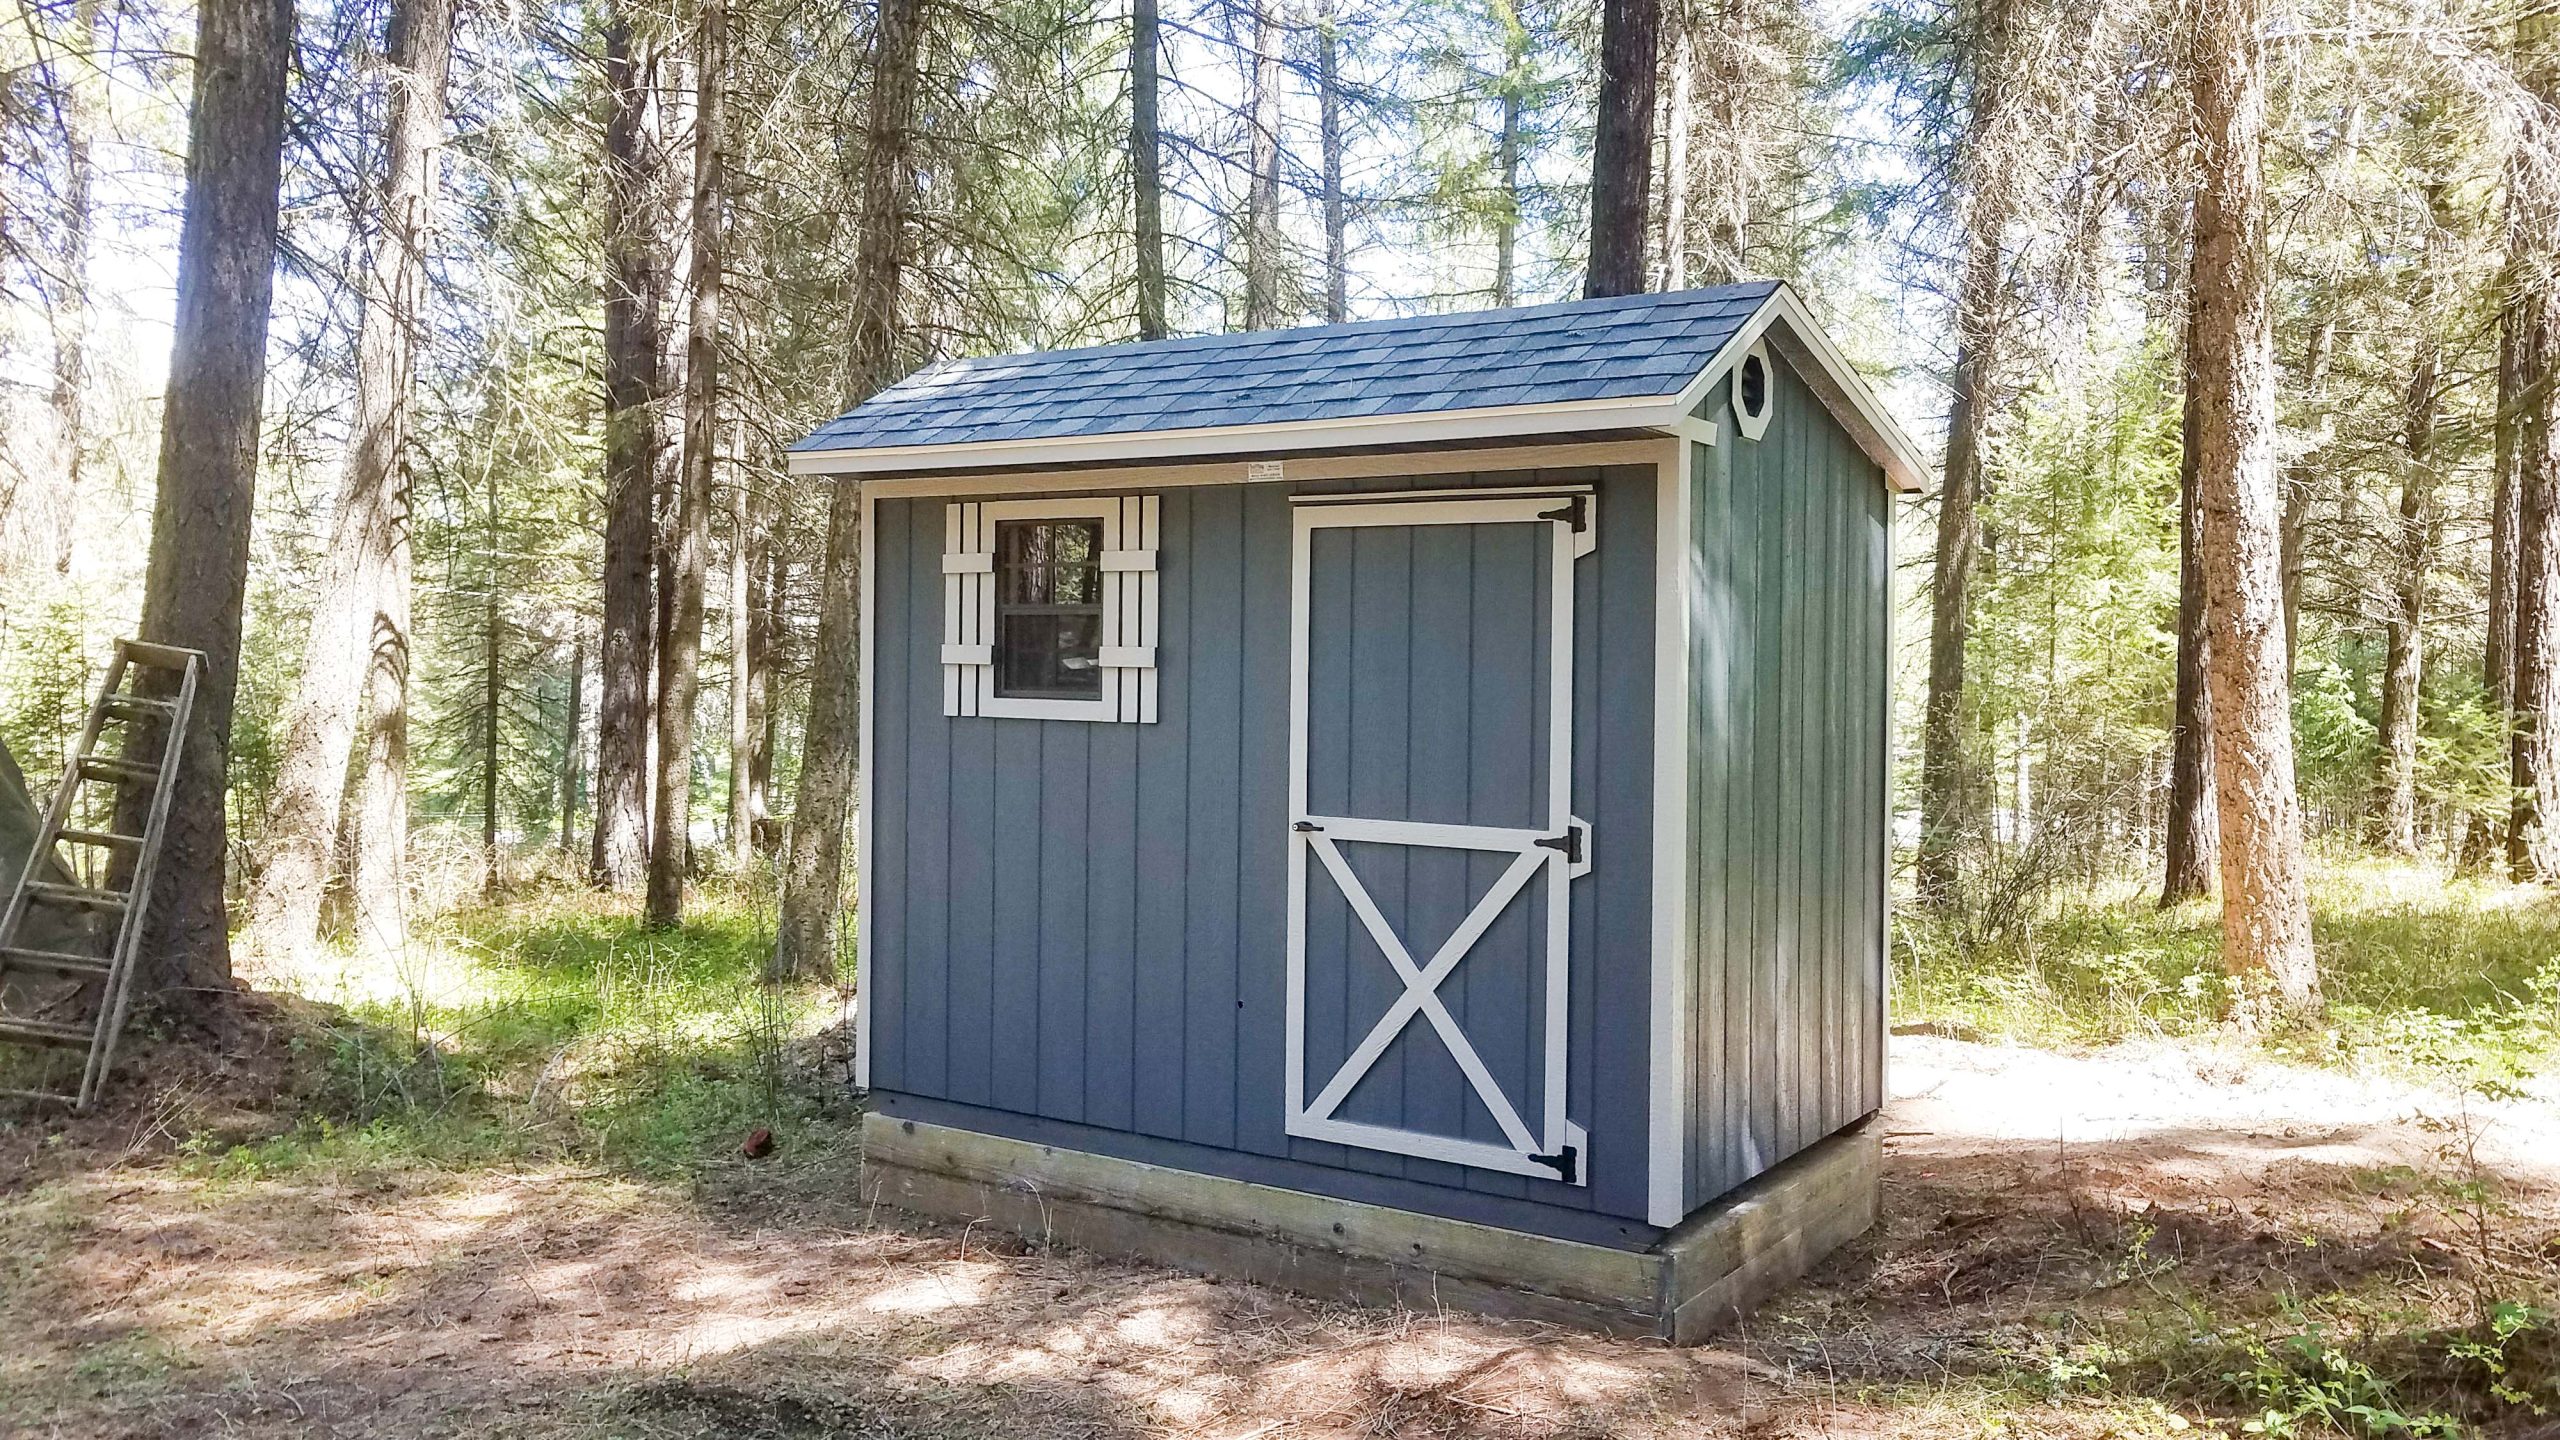
Step 1: Build or Buy Your Shed (Choose Your Ideal Size)
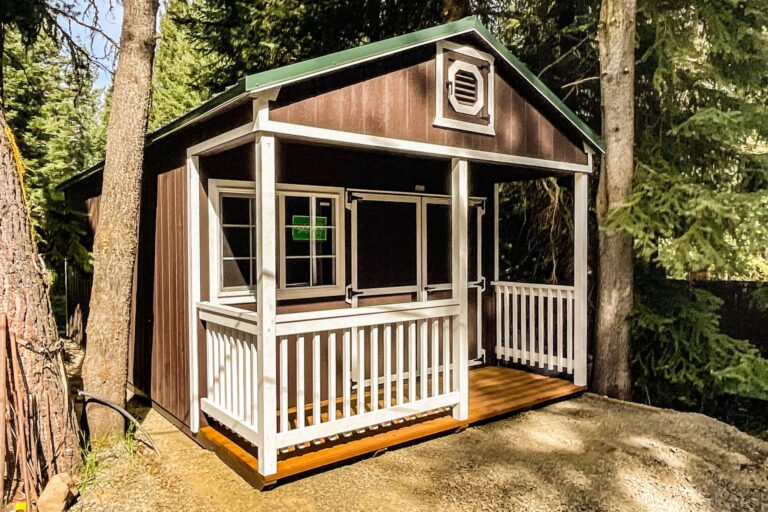
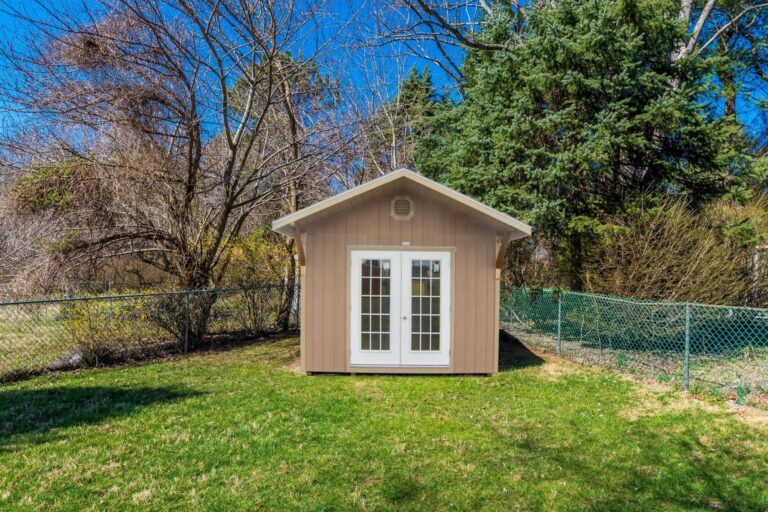
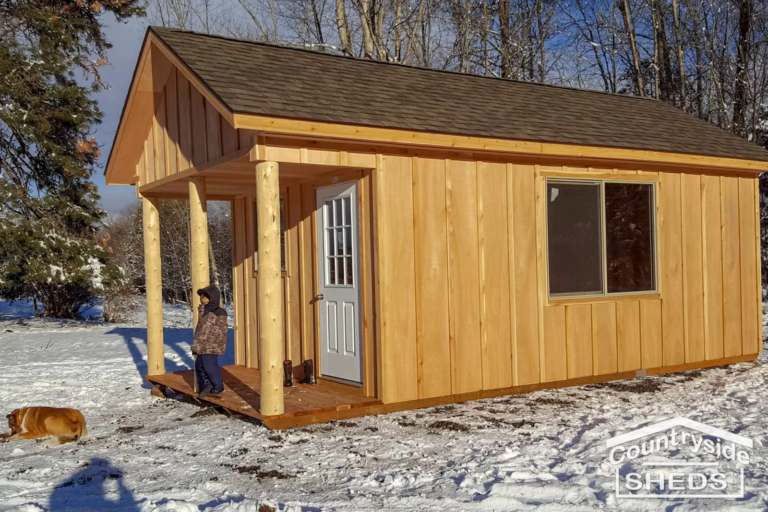
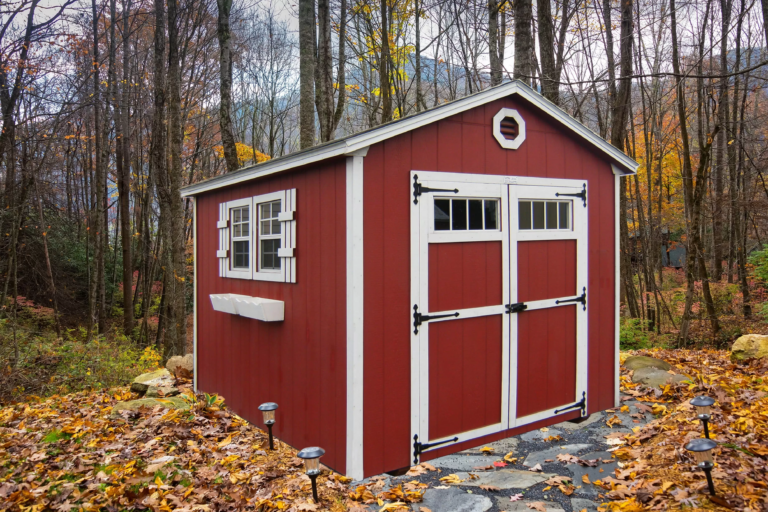
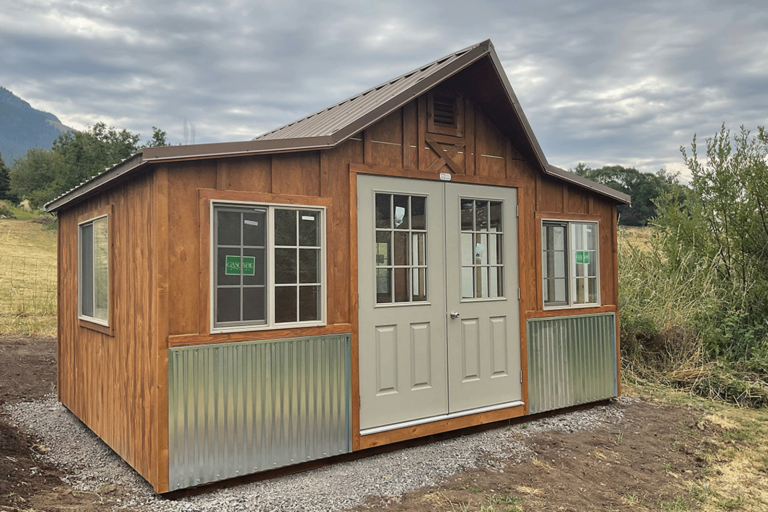
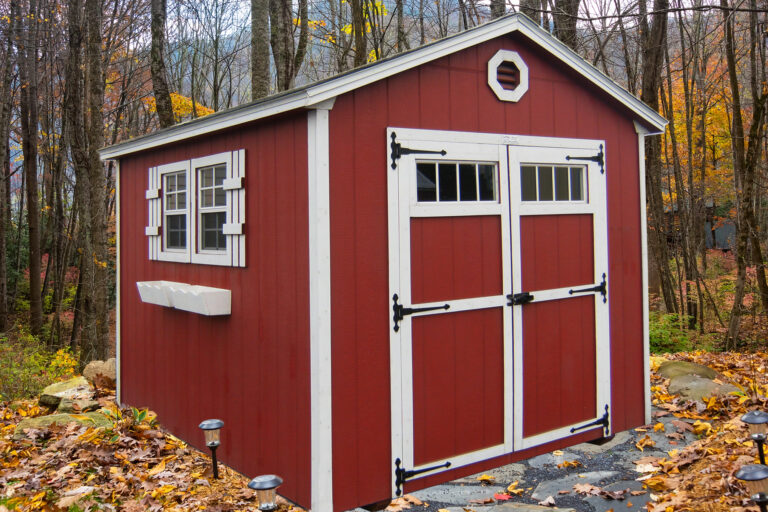
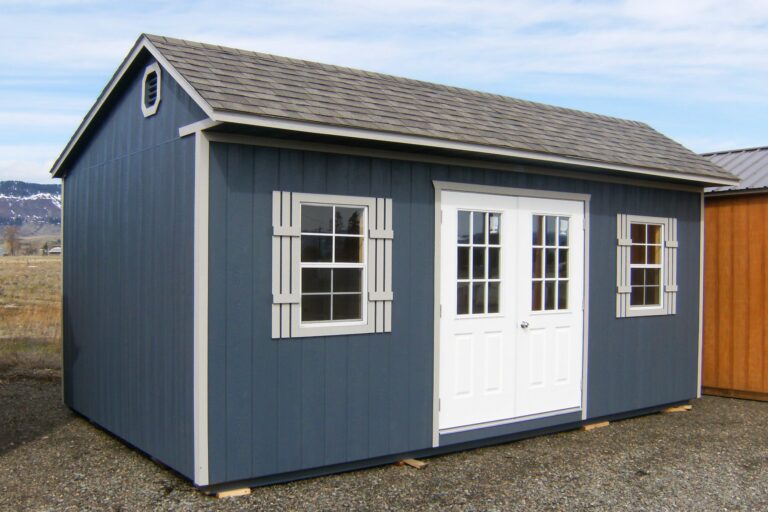
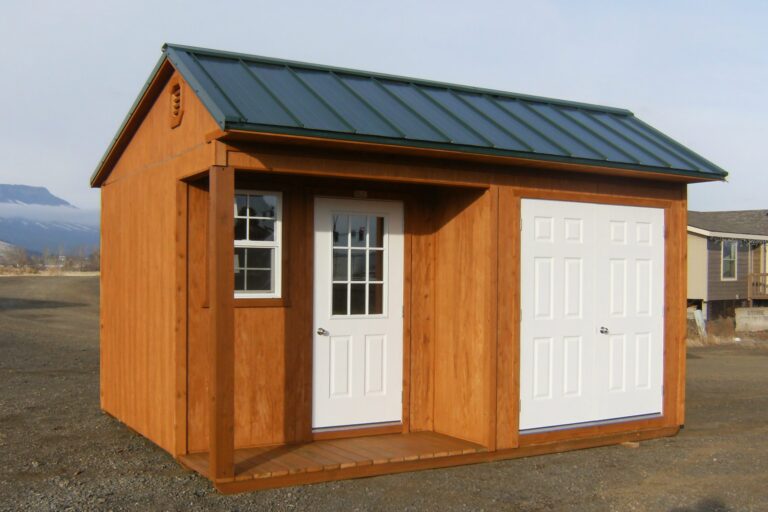
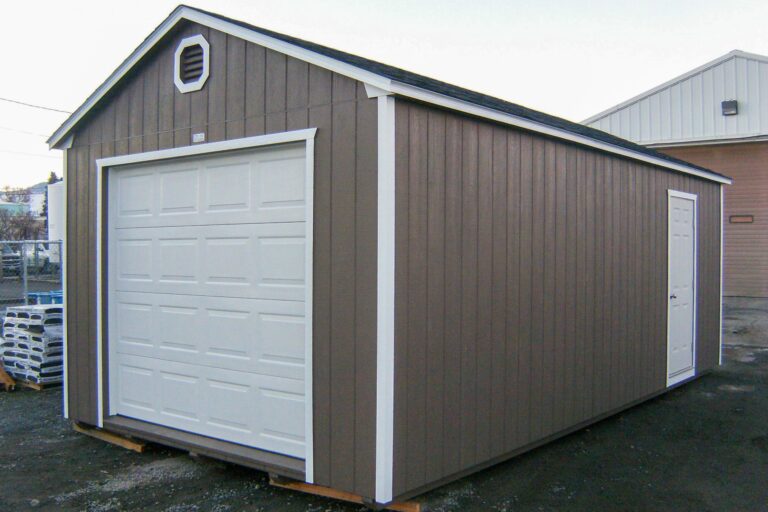
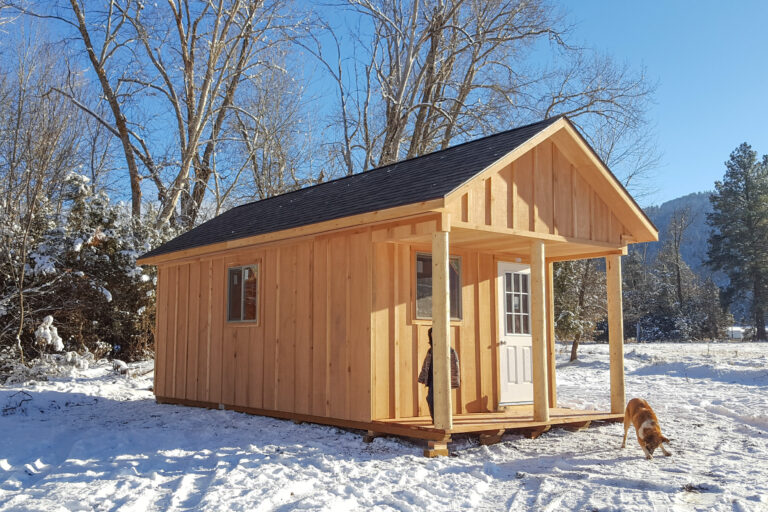
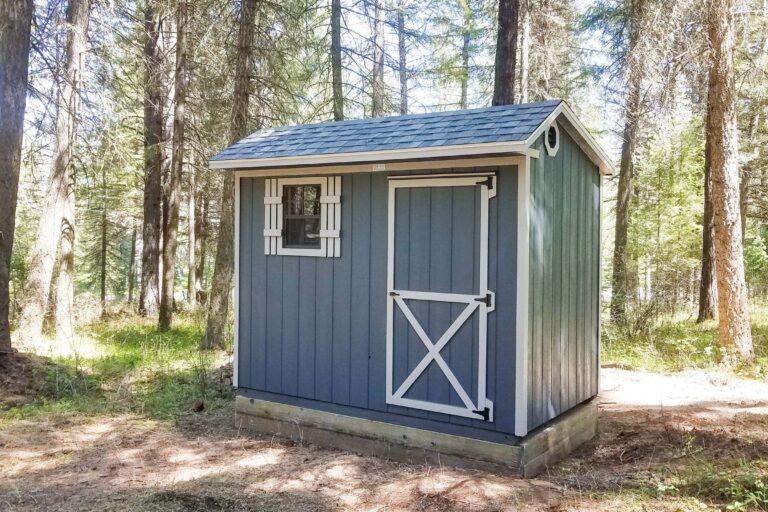
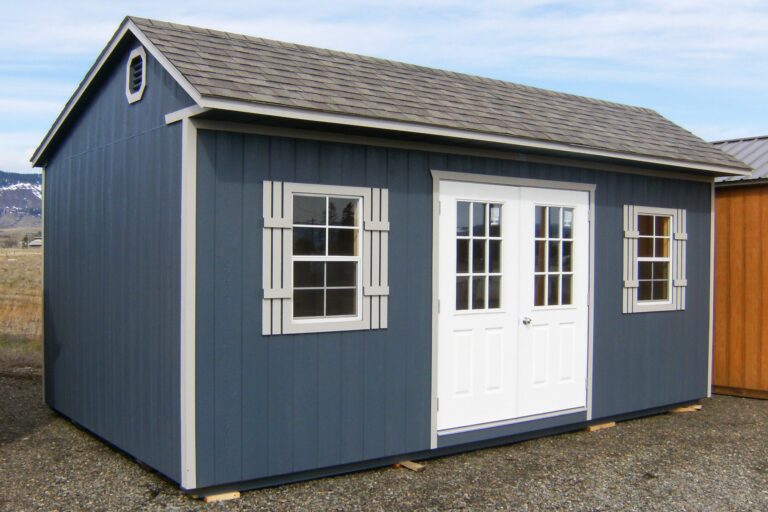
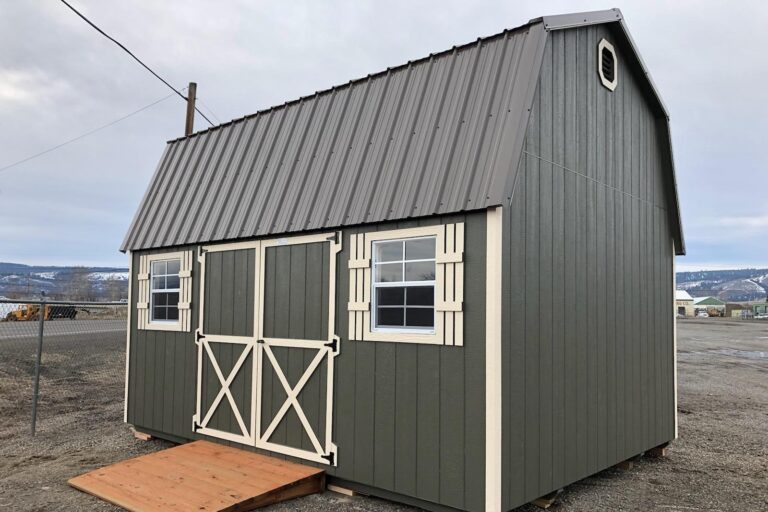
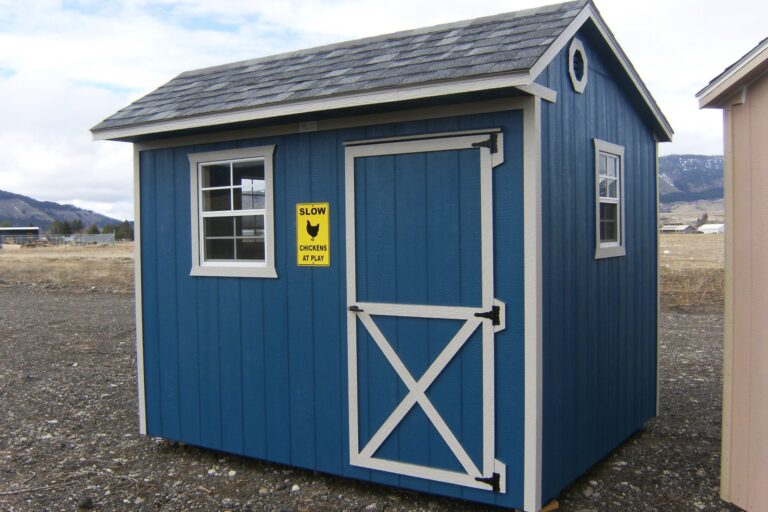
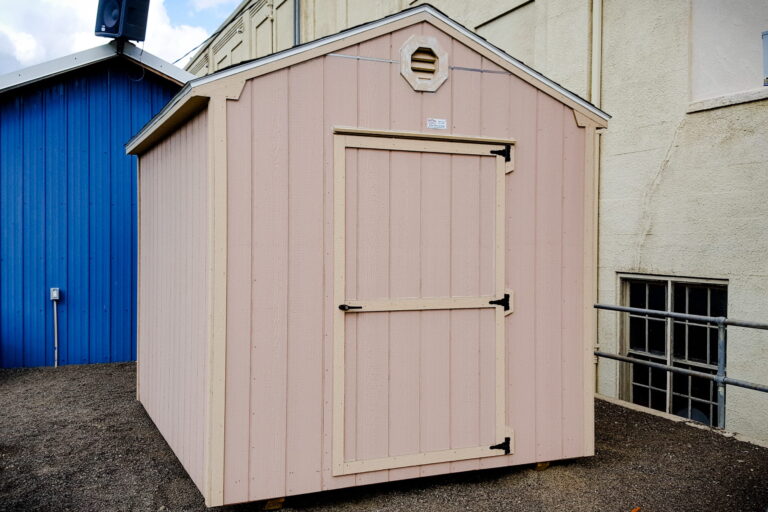
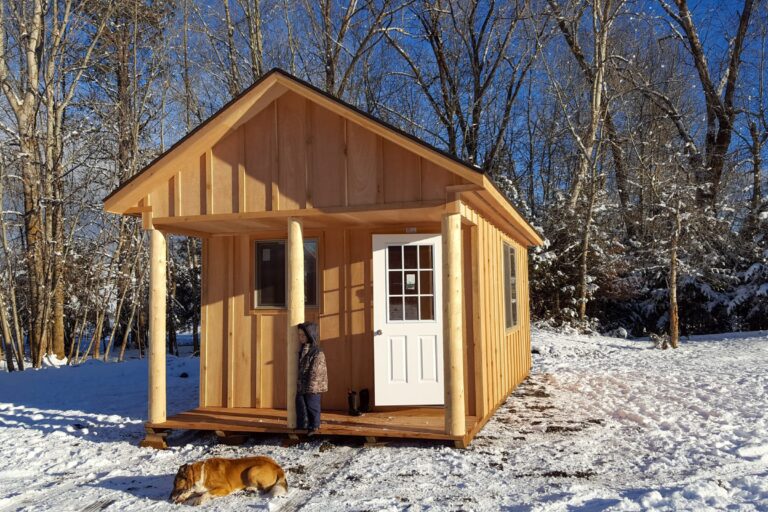
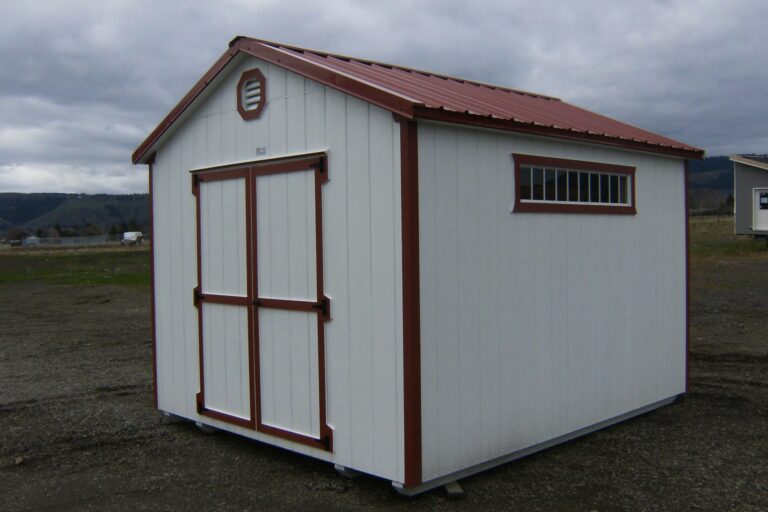
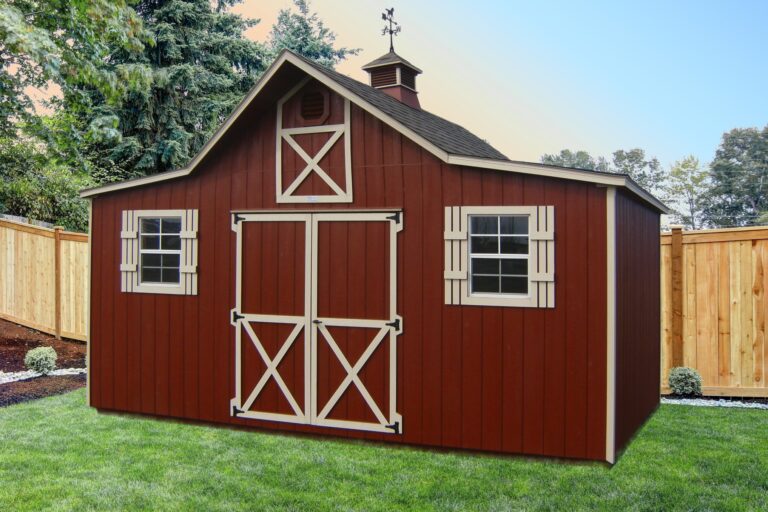
If you do not already have a shed, you can either build a potting shed or buy a prefab potting shed. Potting sheds tend to be on the smaller side and some popular sizes are 8×8, 8×10, and 10×8. A customer proofed route to proper sizing would be to go one size bigger than your initially desired size. You won’t regret it because it will fill up fast with your favorite plants, furniture, and tools.
Step 2: Add Natural Lighting
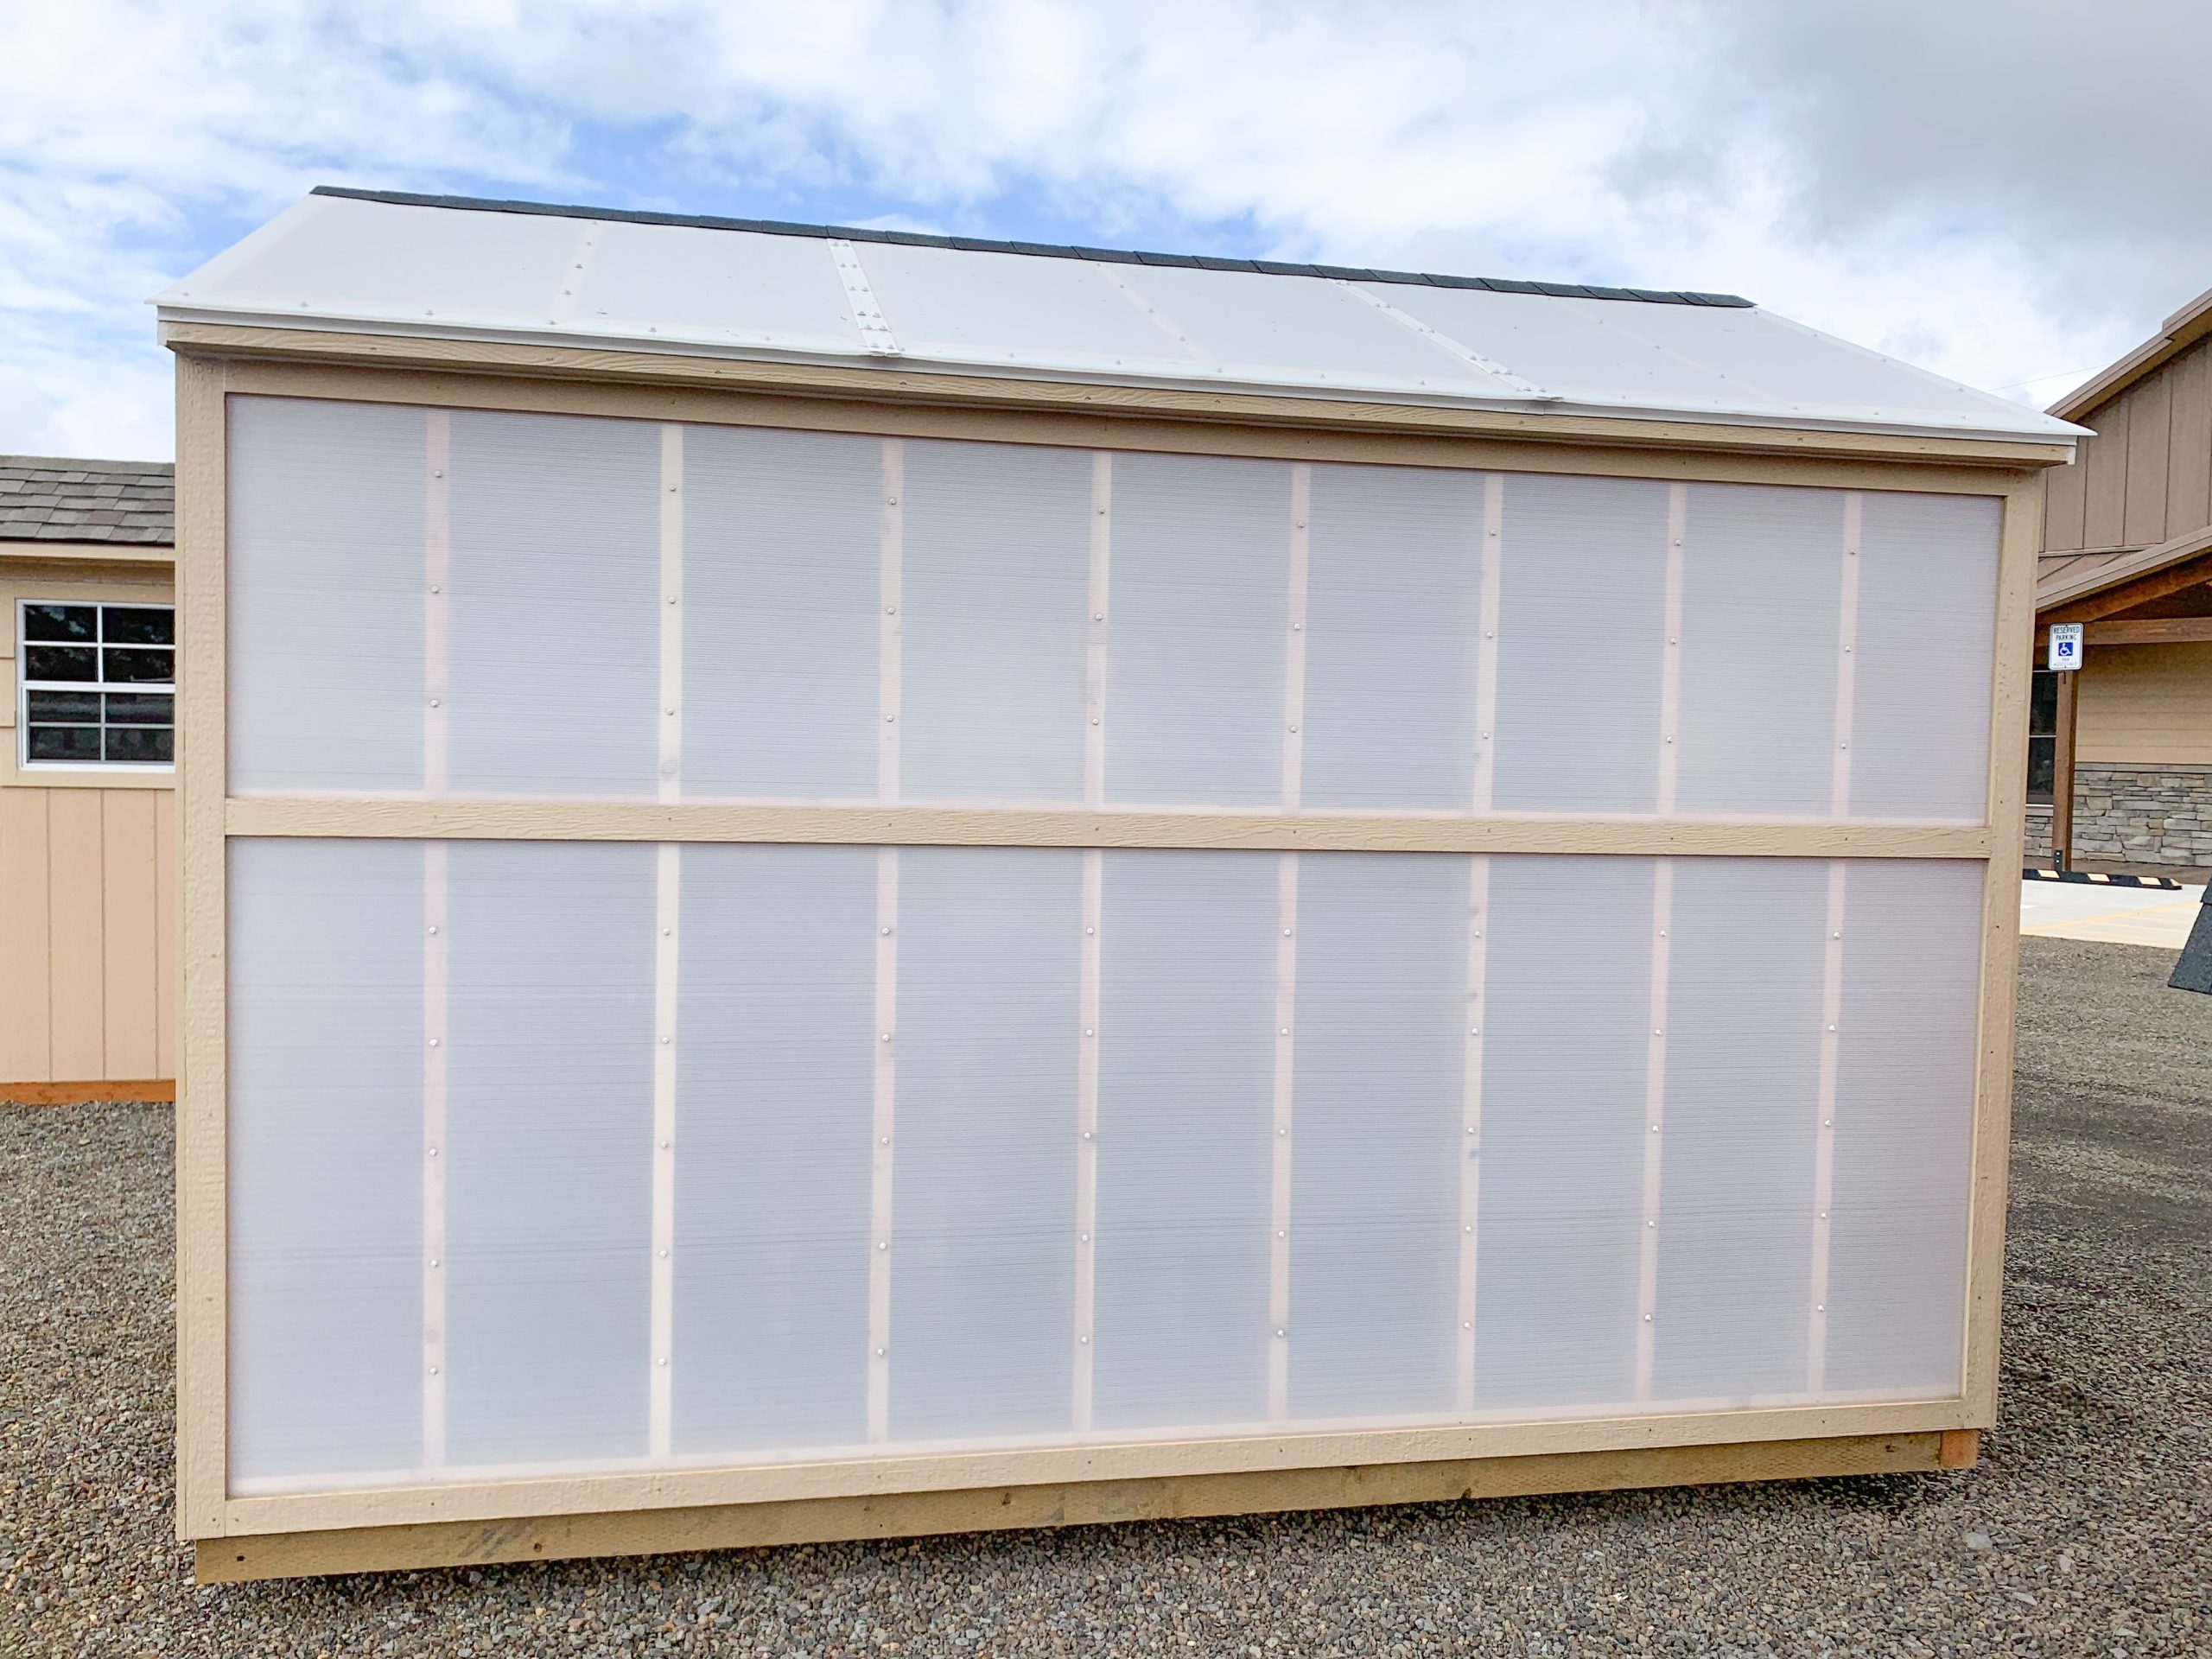
Natural lighting is key to creating a vibrant potting shed. The following offer you two ways for harnessing the power and beauty of the sun for your plants and yourself.
- Skylights – This route allows for sun to pour directly through your roof and can decrease how dependent you are on synthetic lighting. If you are in the middle of buying your shed, you can add a skylight during the customization process. If you are already have a shed or if you would rather DIY your skylights, check out this video for an idea of the process.
- Windows – If nothing else, prioritize adding windows. Also, while the more the merrier, remember to factor in how much sun you need or want. Too many windows might be too much for your situation.
If you want sun, then make sure to have your windows installed facing the sun’s daily path. If you want to minimize its rays, then set your windows the opposite direction of the sun’s normal stomping grounds.

Step 3: Add Electricity
While some choose to bypass electricity, if you want to utilize synthetic lighting or add strings of darling lights, you will want to add an electrical connection to your potting shed.
That leaves you with two options:
- DIY, Check out this informative video on running power to a garden shed.
- Hire a local electrician
If you have the knowledge and time, then go for DIY. However, for the best possible result it is recommended to consult a professional.
Step 4: Paint the Inside or Leave as Is
While natural wood is lovely, a splash of light green or white could really enhance and brighten the feel and look of your potting shed. Plus, painting your shed’s interior can also help seal the wood which helps your garden shed stay maintained longer.
So, get on down to your local Sherwin Williams or Lowes and grab the paint color of your choice!
Note: It is ideal to paint your potting shed in the very beginning stages, if possible, to avoid a mass migration of all your potting accessories.

Step 5: Add Synthetic Lighting
Depending upon what plants you grow inside your garden shed and the amount of natural lighting you have, you may want to add synthetic lighting as well.
Some of the popular synthetic grow lighting options include:
- Fluorescent Bulbs – Great for growing seedlings and young sprouting plants
- High Intensity Discharge (HID) – Ideal for covering a large amount of space
- Light Emitting Diode (LED) – Works well with smaller spaces since they emit less heat which means you can keep them closer to their plants
- Incandescent Lightbulbs – Friendly to leafy green plants and better when partnered with a group of plants rather than just one
- HID Lamps – Bright enough to cover 7 square feet of space. This is the most expensive, but the brightest option.
Step 6: Add Decorative Lighting for Fun & Beauty
Nothing quite adds a romantic and stunning touch to a room as do string lights. So, while you are buying your synthetic lighting, why not order a string of lights as well to add some pretty lighting of their own?
Check out the following lights to see which one you prefer to drape around your potting shed. View String Lights
Step 7: Add a Workbench
A workbench is an absolute must if you are planning to do potting inside your garden shed. Depending upon the size of your potting shed you might have to buy a custom built bench or build a workbench that fits your space. While a lot of workbenches resemble a counter with a flat surface, a potting bench table offers a space similar to a sink that you can use for your potting soil in addition to a flat surface.
If you are into building your own workbench, check out the following video.
If you want to buy a workbench you can search online, at a local hardware store, or at a local woodworking shop.
Step 8: Add Shelving
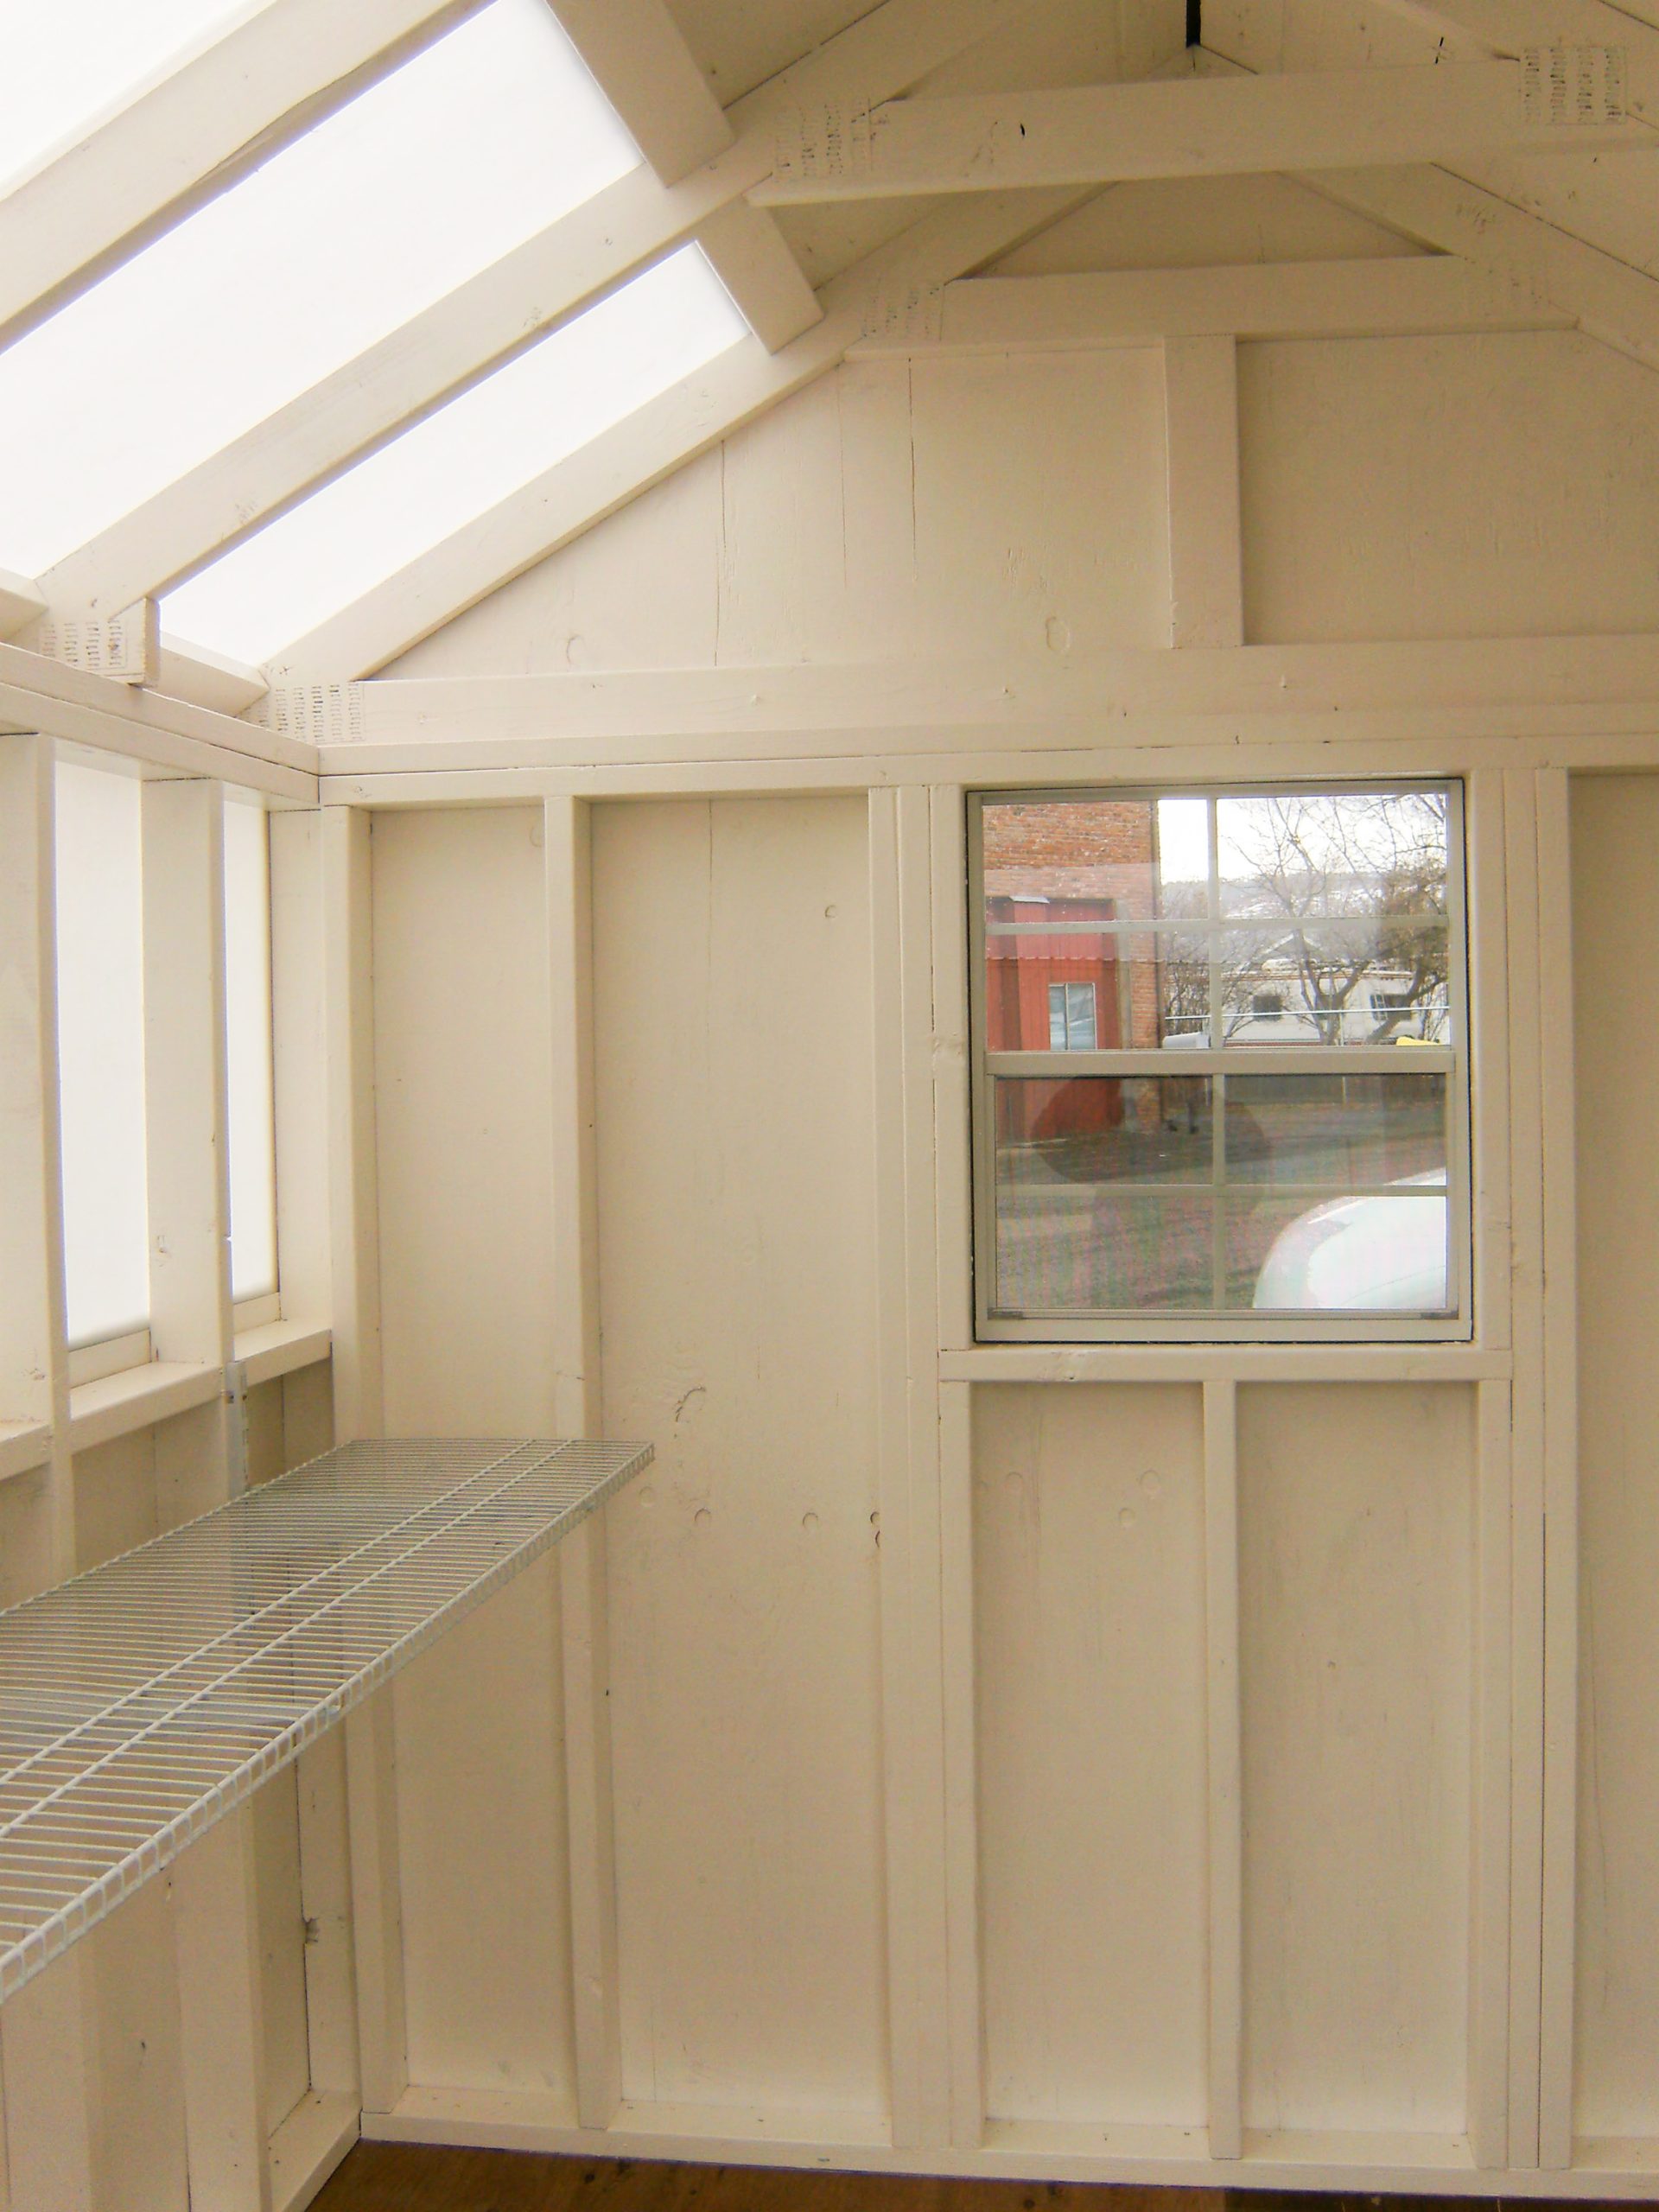
Shelving comes in super handy for holding your pots, bins, plants, etc. Plus, it can keep your space more organized if everything has a place of its own.
You can either build your own shelves for your potting shed like this man did for his shed. Of course, depending upon the size of your potting shed you may need to make them a lot smaller.
Or you can buy your shelves. Either way, shelving makes a difference inside a potting shed!
Step 9: Put Up a Pegboard
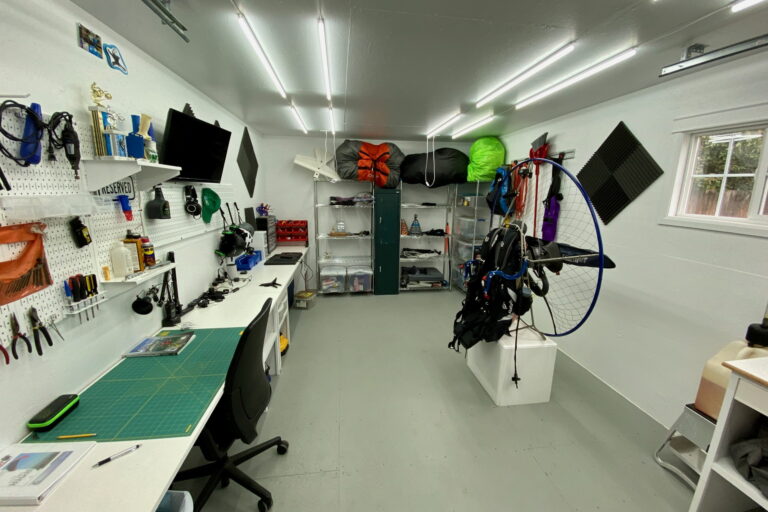
Wondering where to hang your smaller tools? Pegboards offer a great spot! Not everyone is into the look of a pegboard.
However, a carefully placed pegboard can add a decorative and helpful touch to your potting shed.
Step 10: Add Vintage/Modern Drawers
Some people bypass the workbench if their space is too small and simply add an antique or modern piece of furniture, such as a chest and drawers or a cupboard. This offers you a space to store items and a bit of space to work on if desired.
Step 11: Hang a Fancy Chandelier
Obviously not a necessity, however, a popular addition to garden sheds are chandeliers. There is just something so irresistible about a chandelier hanging from your potting shed’s ceiling. For fun, check out this potting shed from the Elliot Homestead and try not to fall in love with the chandelier that she chose to hang from its ceiling.
Step 12: Add Your Personal Décor Touches
Now that the main potting shed preparation is complete, the fun part begins! Now is the time to fill your garden shed with your personal décor touches! You know your style and now you get to express it with no restraint.
Give yourself time with this step because creating a special space takes thoughtful investment. For decorating inspiration, check out these pictures of various different potting sheds and their interiors.
Go for it and enjoy!
Step 13: Add Your Tools and Potting Equipment
Bring in your spade, your gloves, and your pots from “the four corners of the earth”! You have a spot now where they can stay! No more losing tools or forgetting them in your yard. As the saying goes, ‘a place for everything and everything in its place.’
If you are starting brand new, check out this article on essential potting tools.
Step 14: Set Out a Cozy Chair
Is this really a step? Well, perhaps that is debatable. However, a garden shed is a lovely place to go to read, to think, and to listen to music and a cozy chair makes the whole experience bliss.
Adirondack chairs are a popular seating choice.
Step 15: Decorate & Landscape the Outside
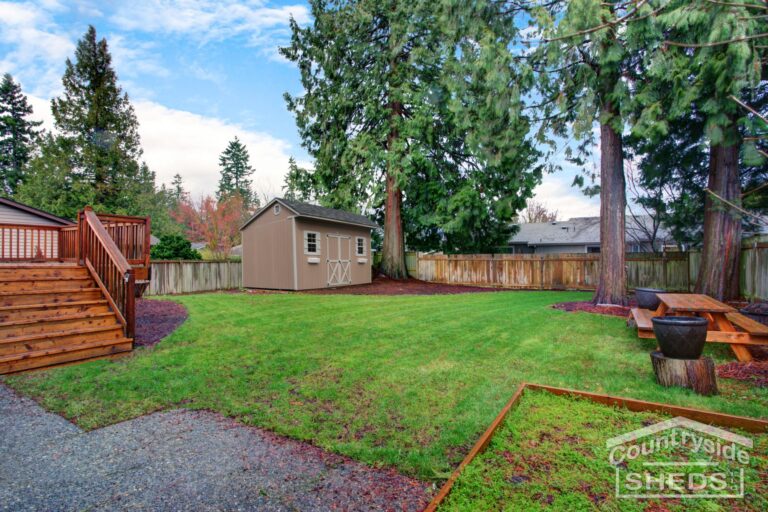
Last, but certainly not the least, the final step is to decorate and landscape the outside of your potting shed. This step is fun because you get to unleash your gardening skills and it is the final step to converting your shed into an epic potting shed.
Way to go! Now sit back and enjoy the beauty and space you created.
Further Potting Shed Inspiration:
For more reading about gardening buildings, read Ideas For Garden Sheds.
???? Are you planning to convert your shed into a potting shed oasis?
Or maybe you are starting at ground level? If you said YES to any of these questions, give us a call for more information about how we can help make your dream come true!

