How to Convert a Shed Into an Office

Ready to boost your productivity and finally escape household distractions? A shed office could be the life-changing workspace you’ve been waiting for — and even small changes can have a big impact. Let’s walk through the steps to make it happen!
10 Steps to Convert A Shed Into an Office
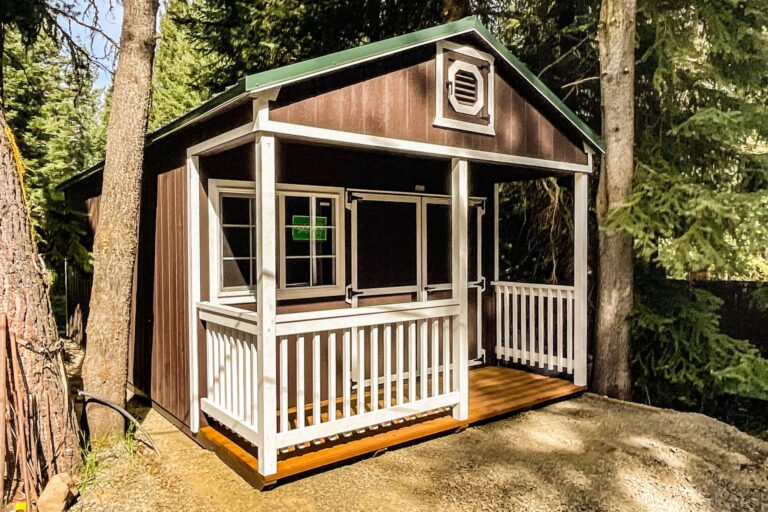
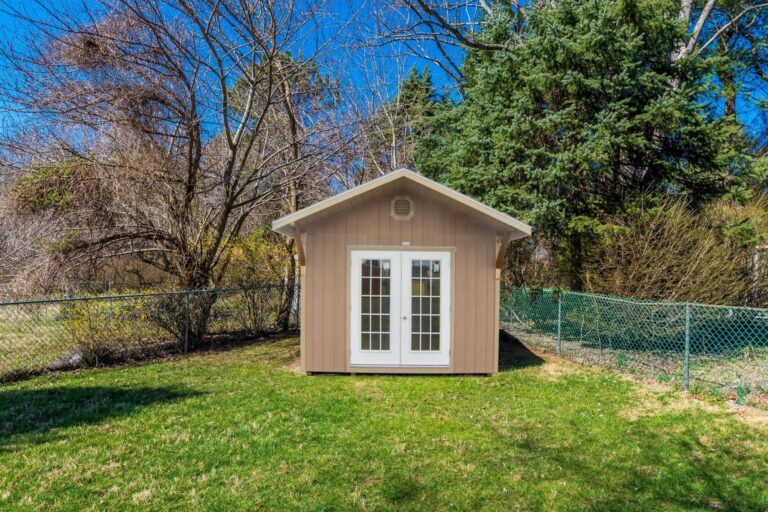
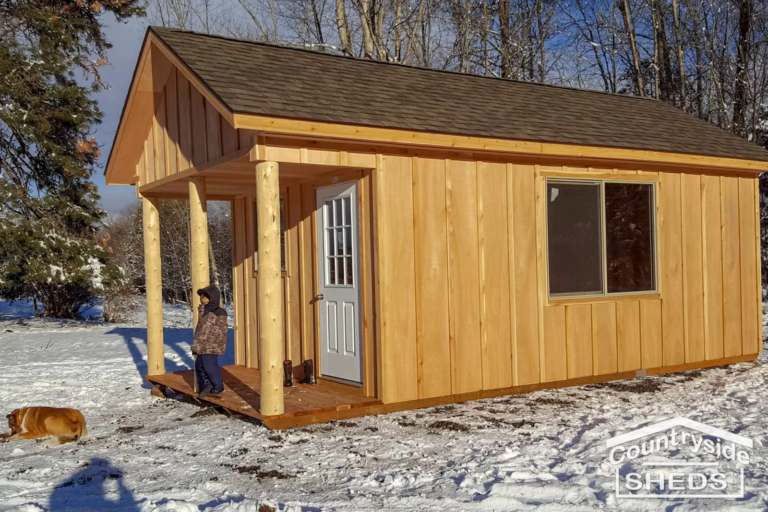
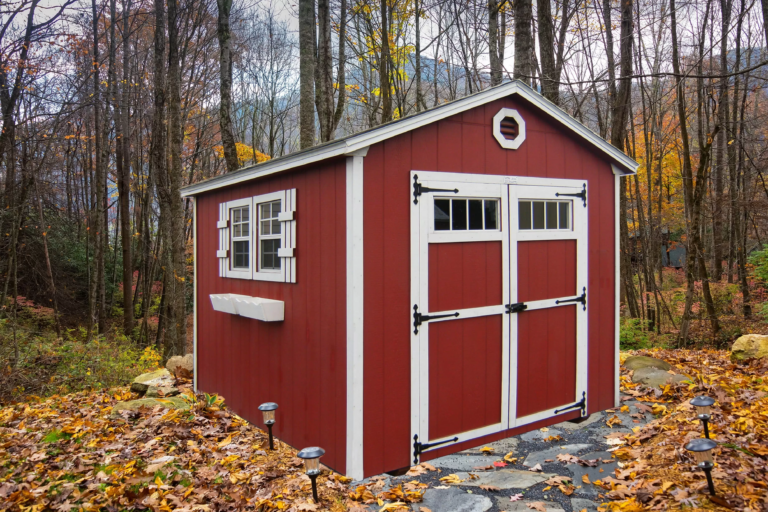
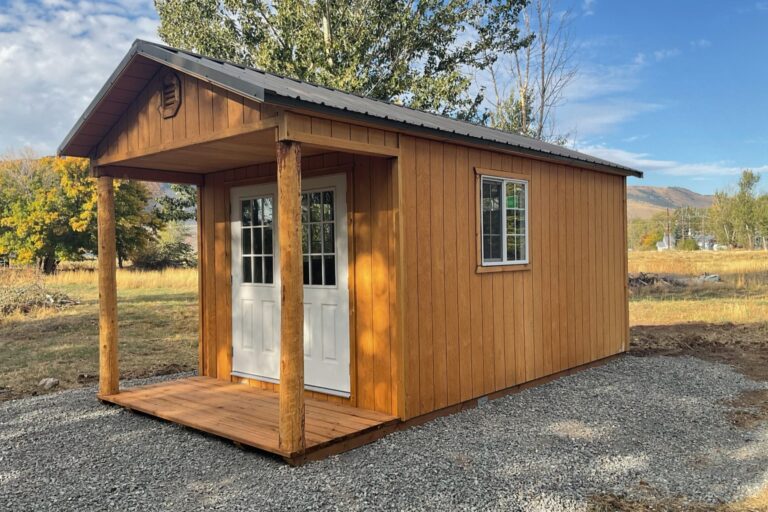
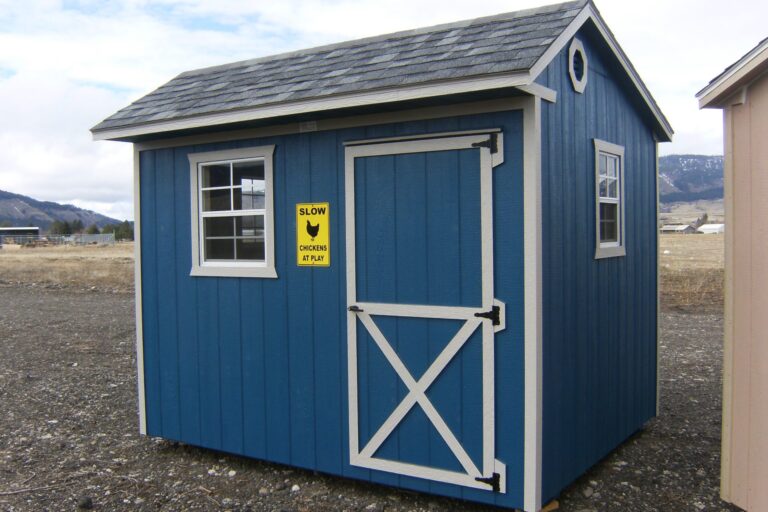
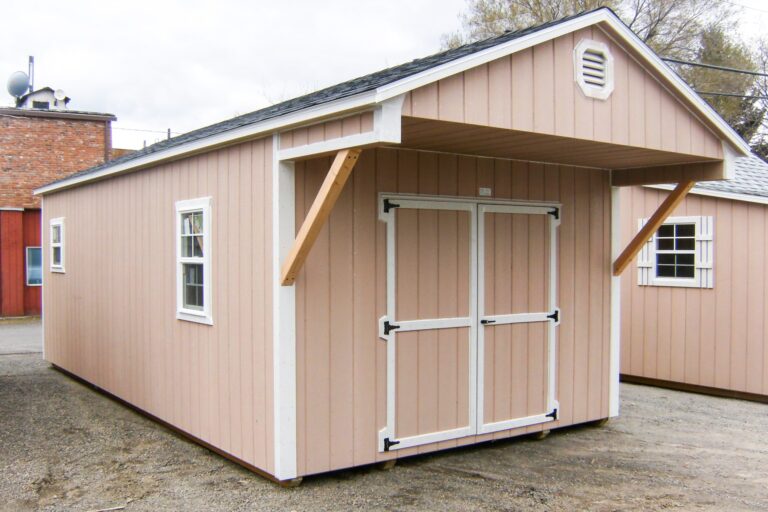
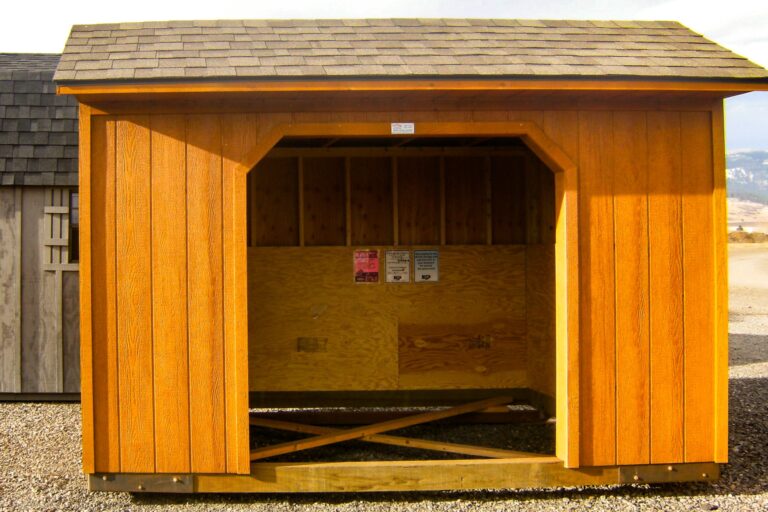
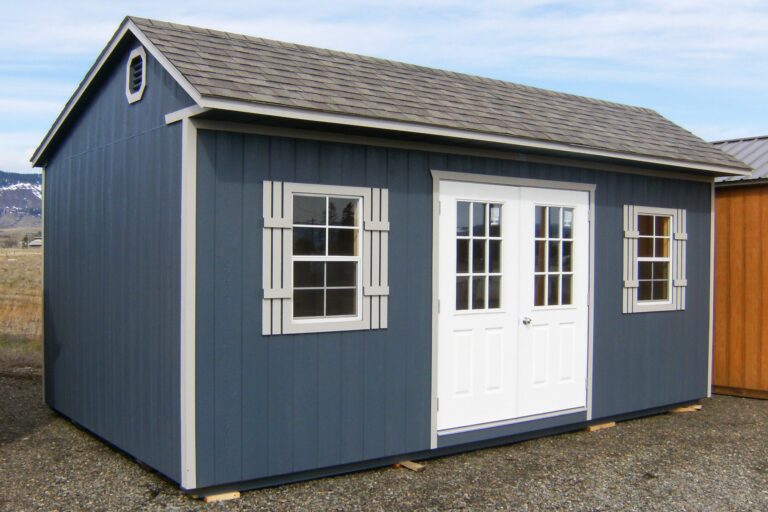
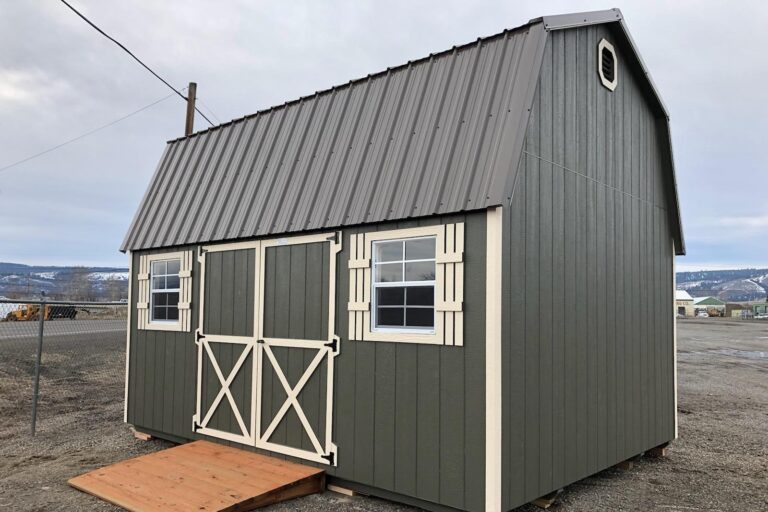
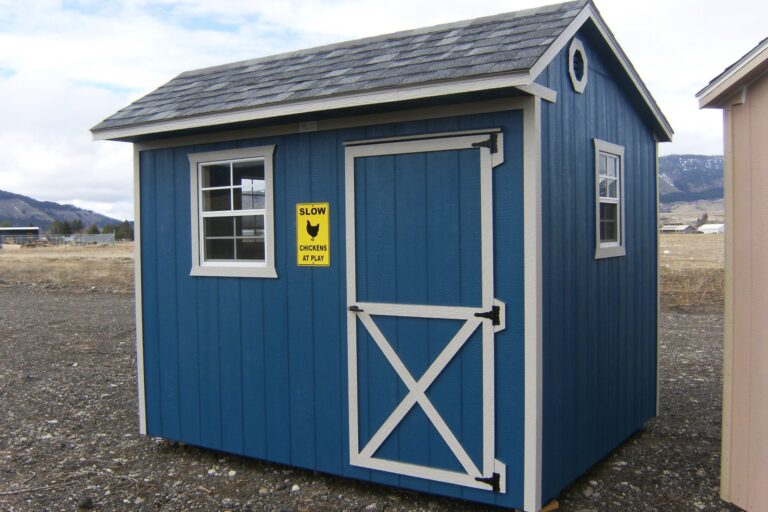
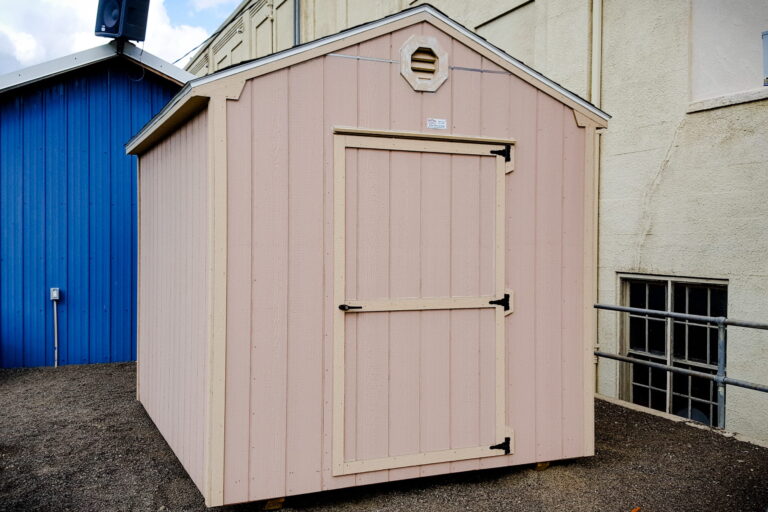
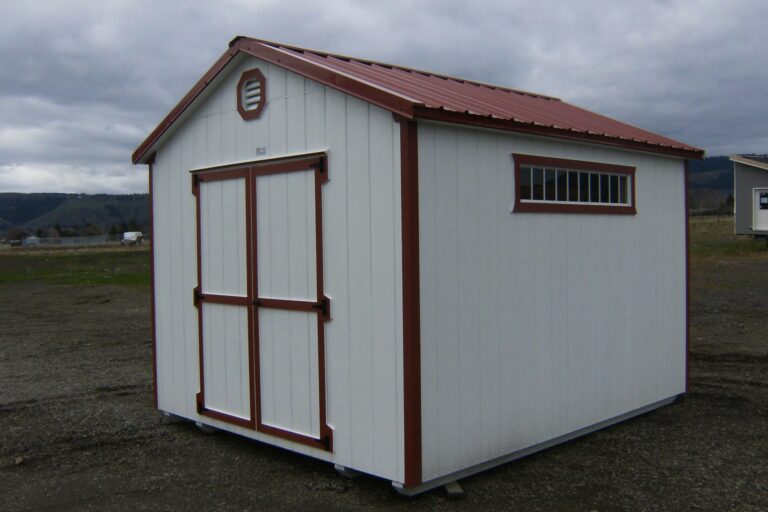
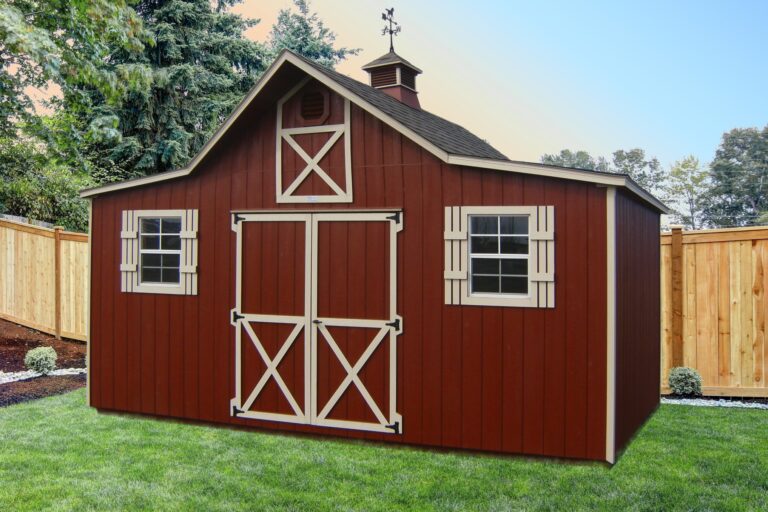
Step 1: Build, Buy, or Use Your Current Shed (Choose Your Ideal Shed Style or Size)

If you already have shed…you can skip ahead to Step 3.
However, if not, then the first step is for you get a shed. You can one of two routes.
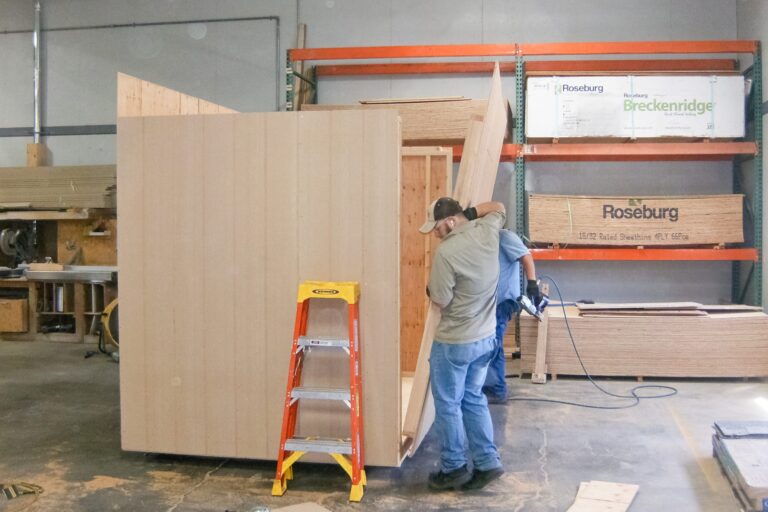
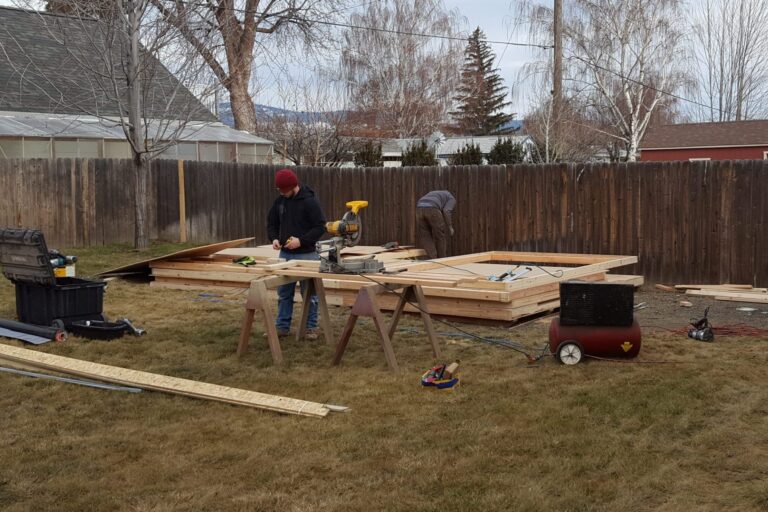
- DIY: Build it yourself!
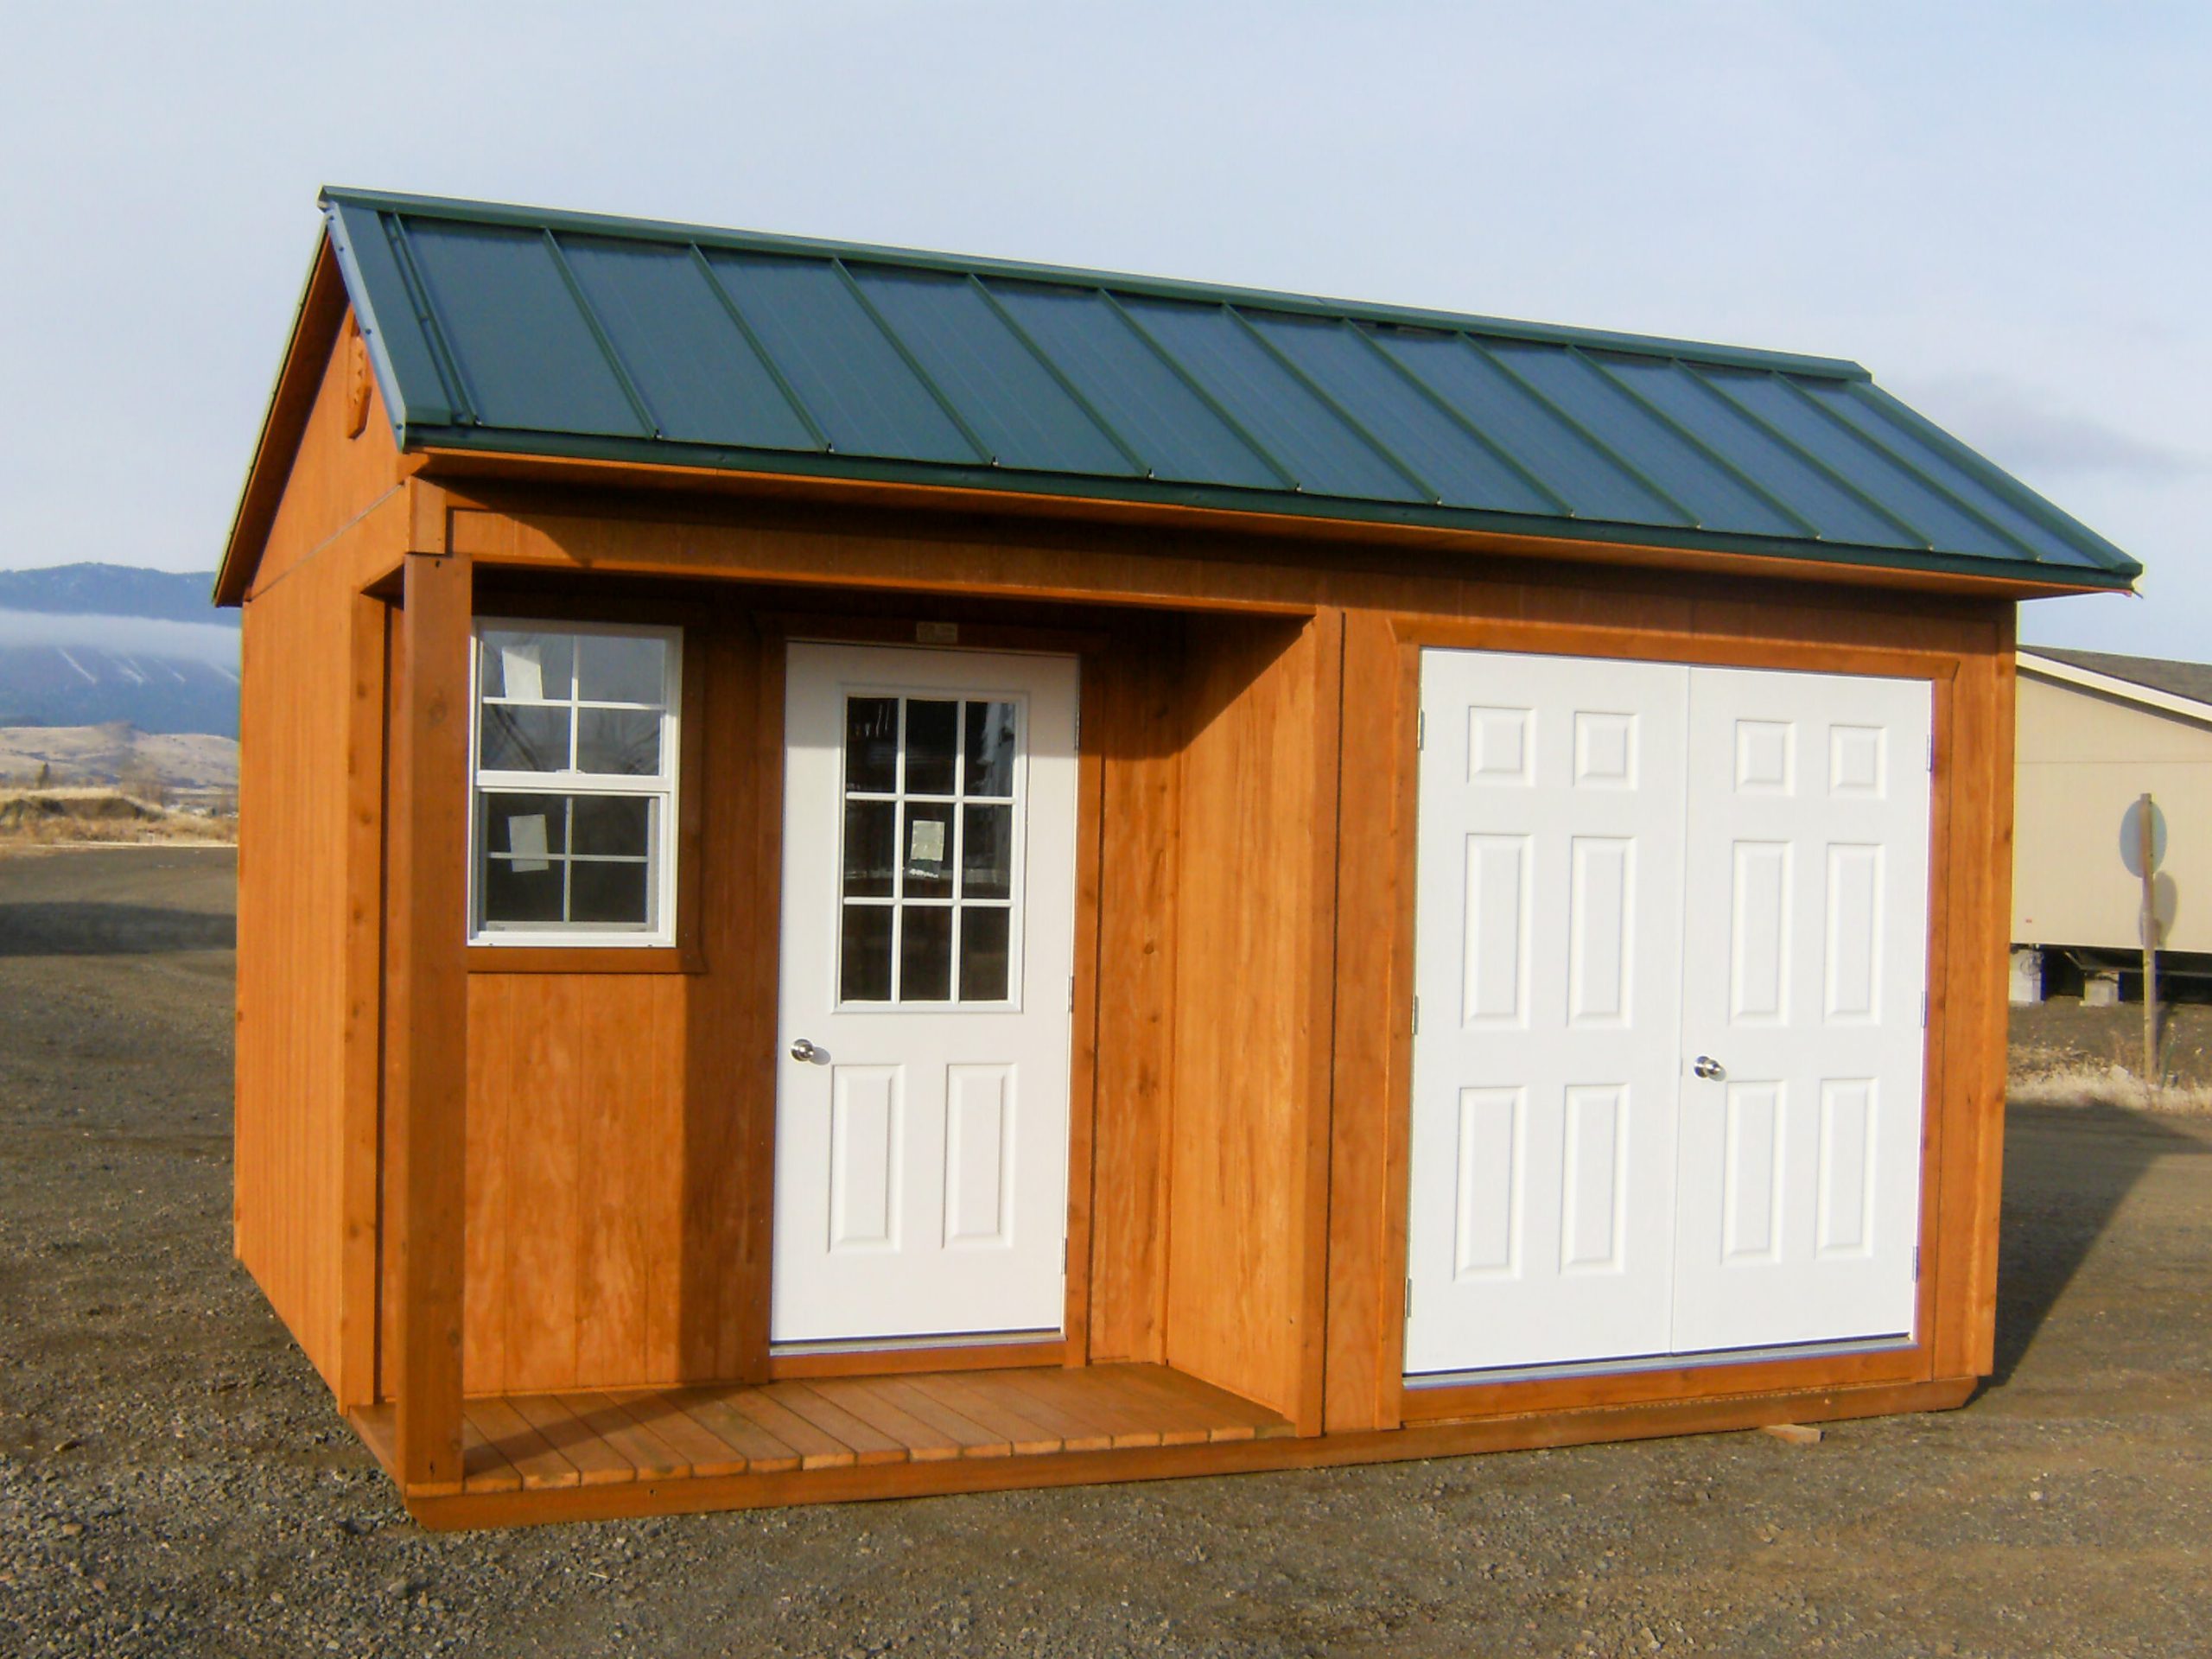
- Prebuilt: If DIY is not your thing or if you do not have time to invest in building a shed, then the prebuilt shed route is definitely your answer!
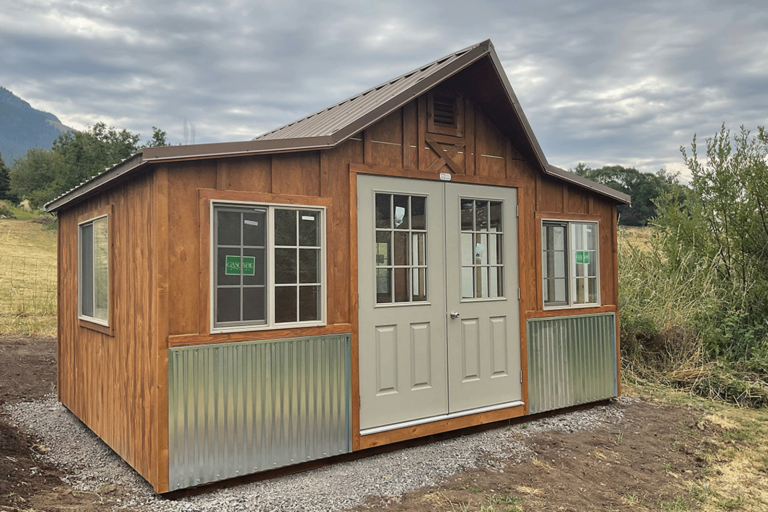
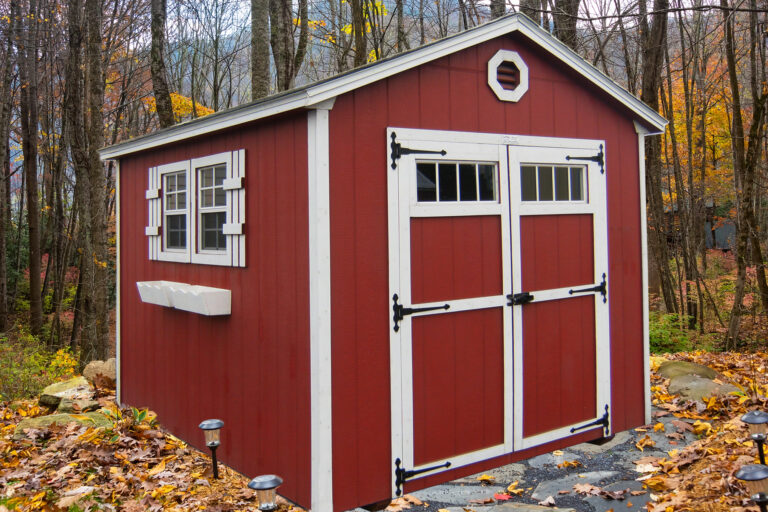
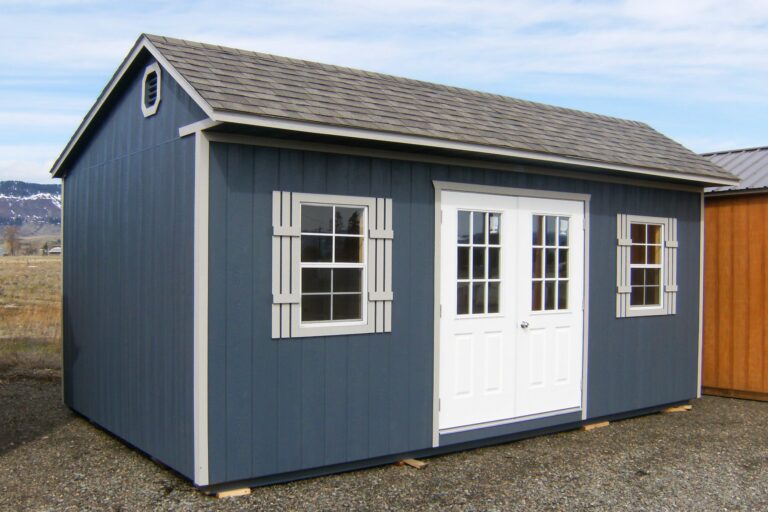
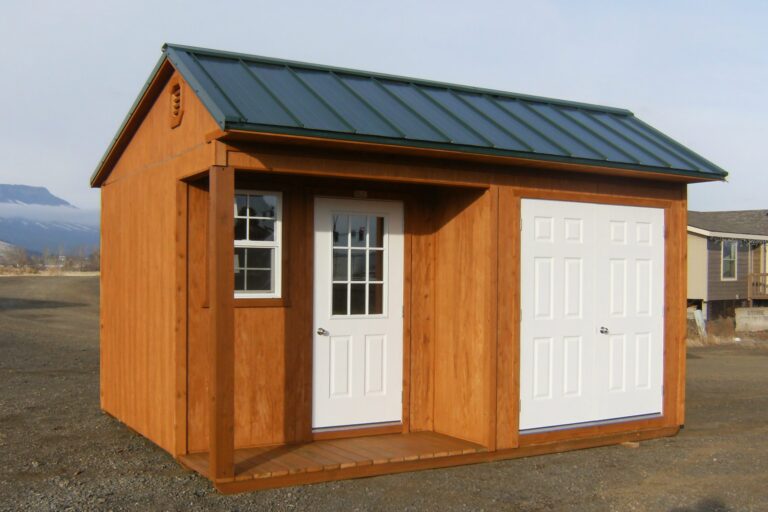
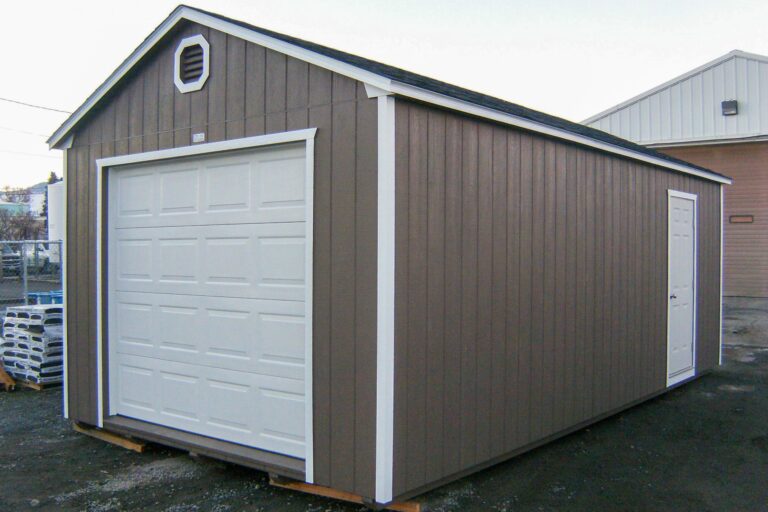
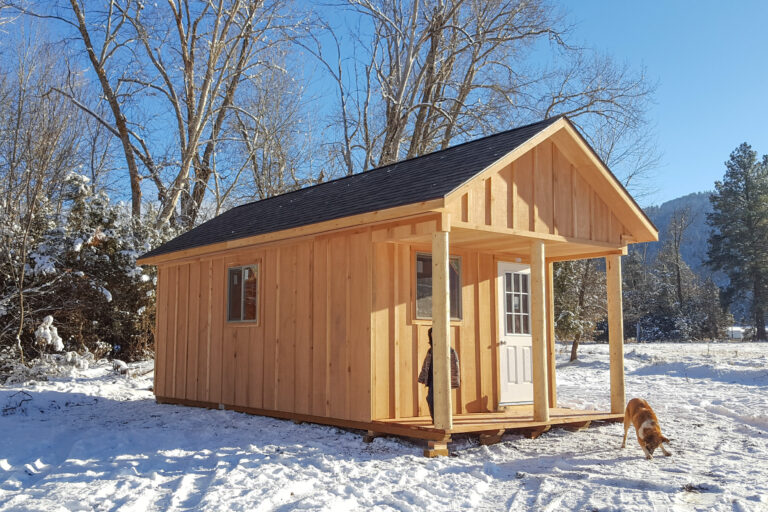
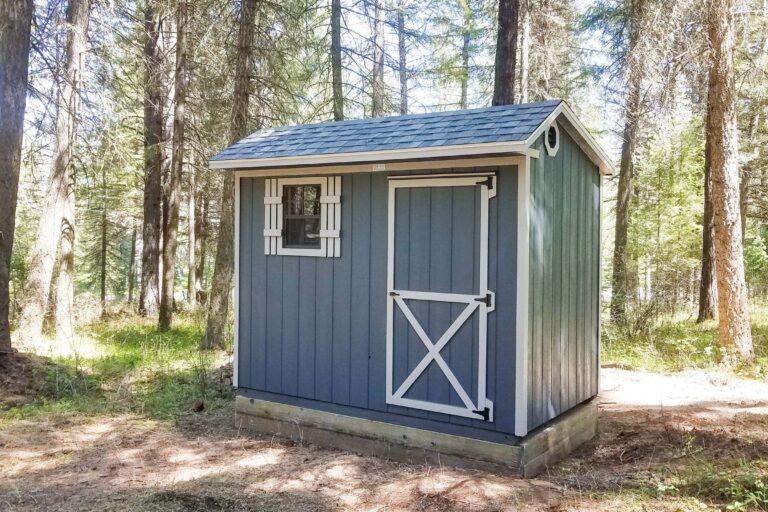
Check out the following storage sheds and enjoy choosing your ideal style and size.
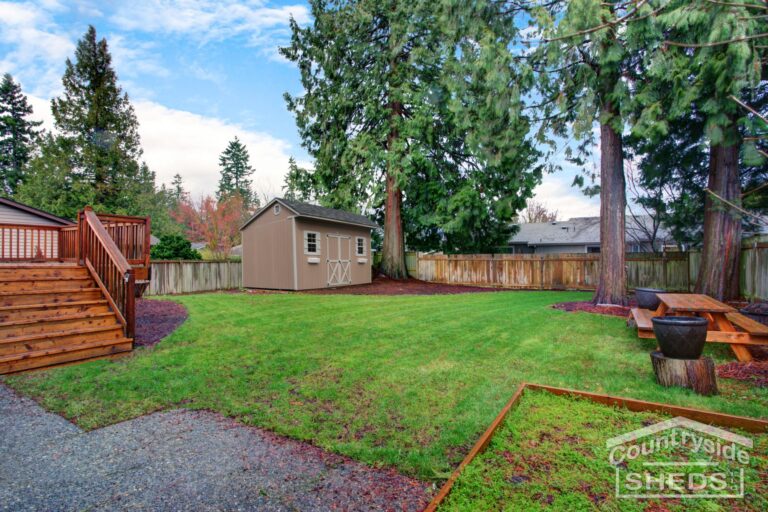
An 8×10, 10×10, and 10×12 shed offers you sufficient space while keeping the price tag on the lower side. Plus, Countryside Sheds also offers rent-to-own options.
As you assess your shed, it’s also helpful to sketch out a basic floor plan for your office. Mapping out the space early allows you to plan where your desk, shelving, and any additional furnishings or outlets will go, helping you avoid layout issues later on.
How Much Will It Cost to Convert a Shed to an Office?
The cost to convert a shed into an office can range anywhere from $1,500 to over $30,000, depending on factors such as the condition and size of the shed, the materials you choose, whether you’re DIY-ing or hiring contractors, and the complexity of features like electrical wiring, insulation, and climate control.
Here’s a quick look at where your money might go:
- Insulation & Interior Walls: $500 – $2,000+
- Electrical Setup: $300 – $1,500+
- Heating & Cooling: $300 – $1,200+
- Windows & Doors: $500 – $2,000+
- Flooring: $200 – $1,000+
- Furniture & Decor: $300 – $2,000+
- Professional Labor (if needed): Varies widely based on region and scope
Even small upgrades can add up, but they can also have a big impact on your comfort and productivity. Establishing a realistic budget early on helps you plan wisely and prioritize what matters most for your new workspace.
Step 2: Check with Your Local Township to See if You Need a Permit

Depending upon your county, state, or homeowner’s association, you may or may not need a permit. For the most part, in Oregon, you do not need a permit unless your shed’s square footage exceeds 200 square feet (a 10×20 shed).
However, even if you are in Oregon, it is still wise to check in with your local township. We’ve wrote articles to help you learn more about the permit process as well as the important step of preparing your shed’s foundation.
Step 3: Add Windows for Natural Lighting (Important step to incorporate in Step 1)

Your shed, whether prebuilt or DIY, most likely has at least one or two windows.
However, if you want to utilize natural lighting to the fullest, you might want to add at least one or two more.
The more natural lighting you can provide for the interior of your shed, the less dependent you will be on electric lighting during the day.
Transom windows and skylights are also great ways to harness maximum lighting for your shed’s interior.
So, if you are in the process of choosing and customizing your shed, make sure to include extra windows.
If you already have a shed and wish for more windows, you can always add more yourself. Check out the following video to see how the DIY Huntress added windows to her shed.
Step 4: Get Your Shed Insulated

Whether you live in the frigid cold of the north or the sweltering heat of the south, you most likely will want to invest in insulation for your office shed. With proper insulation, your shed stays cooler in the summer and warmer in the winter — making it a comfortable workspace year-round.
Plus, it helps keep your electricity costs down when you run a heater or AC inside your office thanks to its insulating properties.
Your two best options are either:
If you do not want to DIY your insulation, reach out to local contractor to see if they could do the job for you.
Step 5: Choose Doors with Reliable Locks

Since you will be leaving your expensive electronics (aka your computer, monitors, etc.) overnight in your home office shed, you will want a door that locks. And one that locks well!
For extra protection, you can also add a bolt lock and video surveillance.

Step 6: Add an Electrical Connection (Figure Out Your Electrical Needs)

What electrical appliances do you plan to use in your office shed? Consider the devices and equipment you’ll need to power on a daily basis — such as your computer, printer, lighting, space heater or fan, and possibly even a mini fridge or coffee maker. Knowing what you’ll use helps you determine the necessary electrical load, outlet placement, and whether you’ll need a dedicated circuit or professional installation.
The cheapest way to add electricity is to do it DIY. Depending upon your setting and electrical needs, going the DIY route could cost anywhere from $100-$600.
Check out this DIY video on adding electricity to your shed to see if that is something that you have the skills and time for.
Hiring a contractor can cost anywhere from $1,000 – $4,000.
If you do not have experience or knowledge with electrical work, it is in your best interest to hire an experienced electrician so that the job gets done right.
Step 7: Cover Your Walls

Even if you bypassed insulation (but especially if you did decide to insulate), you may want to create a more professional look inside your shed office.
Popular sheeting options for your shed converted into an office are:
- Drywall – Cheapest option
If you are DIY’ing the process, check out the video below for some guidance or inspiration.

- Plywood – More expensive option
Plywood installation tends to be pricier, but the added ease of installation can make it worth the cost.
- Shiplap – Most expensive option
Step 8: Paint

By now, you’re closer than ever to completing your office shed! What an exciting feeling! Way to go!
For this step, you’ll want to choose a color that inspires you to focus and get things done.
White or off-white is a popular choice in an office space. However, neutral colors such as tans and beiges also work well.
Of course, a splash of color always adds a bit more jazz or character, so paint on those walls whatever makes you feel good!
Step 9: Install Flooring

Now, it’s time to give your shed floor some attention! The right flooring does more than complete the look of your office — it adds comfort, insulation, and durability to your shed office, creating a space that feels like a true extension of your workspace.
Here are some shed flooring options for you:
- Water-Proof Vinyl Plank Flooring – Highly recommended (how-to video here)
- Carpet (how-to video here)
- Laminate – Note: Not moisture friendly
- Engineered Hardwood
- Floor Paint – this is a very economical way to give your office space a professional look.
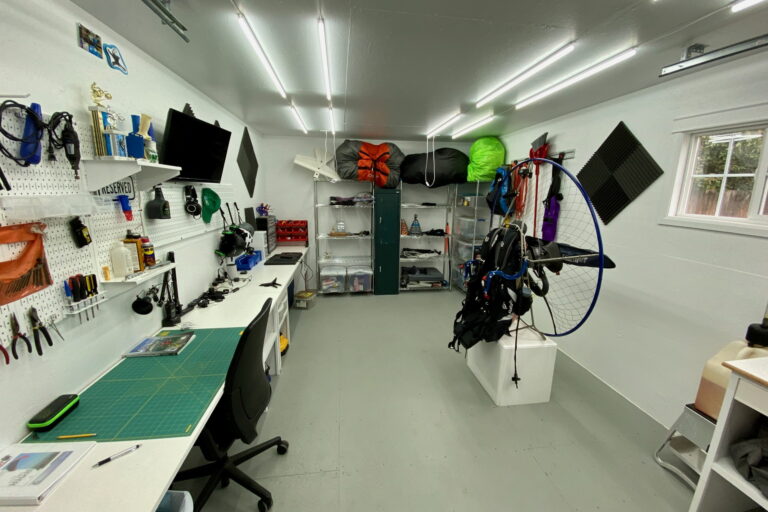
Step 10: Add Furniture & Personal Décor

Now it’s time for the final and most enjoyable step in converting your shed into an office: adding furniture and décor! This is your chance to truly make the space your own — whether that means a sleek, modern desk setup or a cozy, rustic nook with warm lighting and personal touches. Choose furniture that fits your workflow and maximizes the available space, then layer in rugs, wall art, plants, and even a pop of color to inspire creativity and focus. The right design elements will reflect your personality and make your office a place you’ll look forward to spending time in!
Want More Inspiration?
Check out this epic shed converted into a home office shed!
The decision to convert a shed into an office shed is a fantastic way to expand your living space without the expense of a full addition to your house. Plus, it will give you all the privacy you need. Then sit back and watch your productivity skyrocket.
You can also check out our other shed transformation articles How to Convert a Shed into a Tiny Home, How To Convert A Shed Into A Kitchen, and How to Convert Your Shed Into a Guest Bedroom and More.
Conclusion
Converting a shed into an office is more than just a project — it’s an investment in your productivity, focus, and overall well-being. With the right shed, thoughtful upgrades, and personal touches, you can create a workspace that helps you do your best work just steps from home.
Whether you’re starting with an empty shed or shopping for one that’s office-ready, Countryside Sheds is here to help you take the next step.
Explore Our Sheds Built for Office Potential — and find the perfect starting point for your dream workspace!
So what are you waiting for? Dive in and start converting your shed into an office today!
Needing a shed to get started? ⭐️ Call us today to get pricing or to talk about any other questions you have!